Why brightening a photo causes stripes, and when RAW prevents them
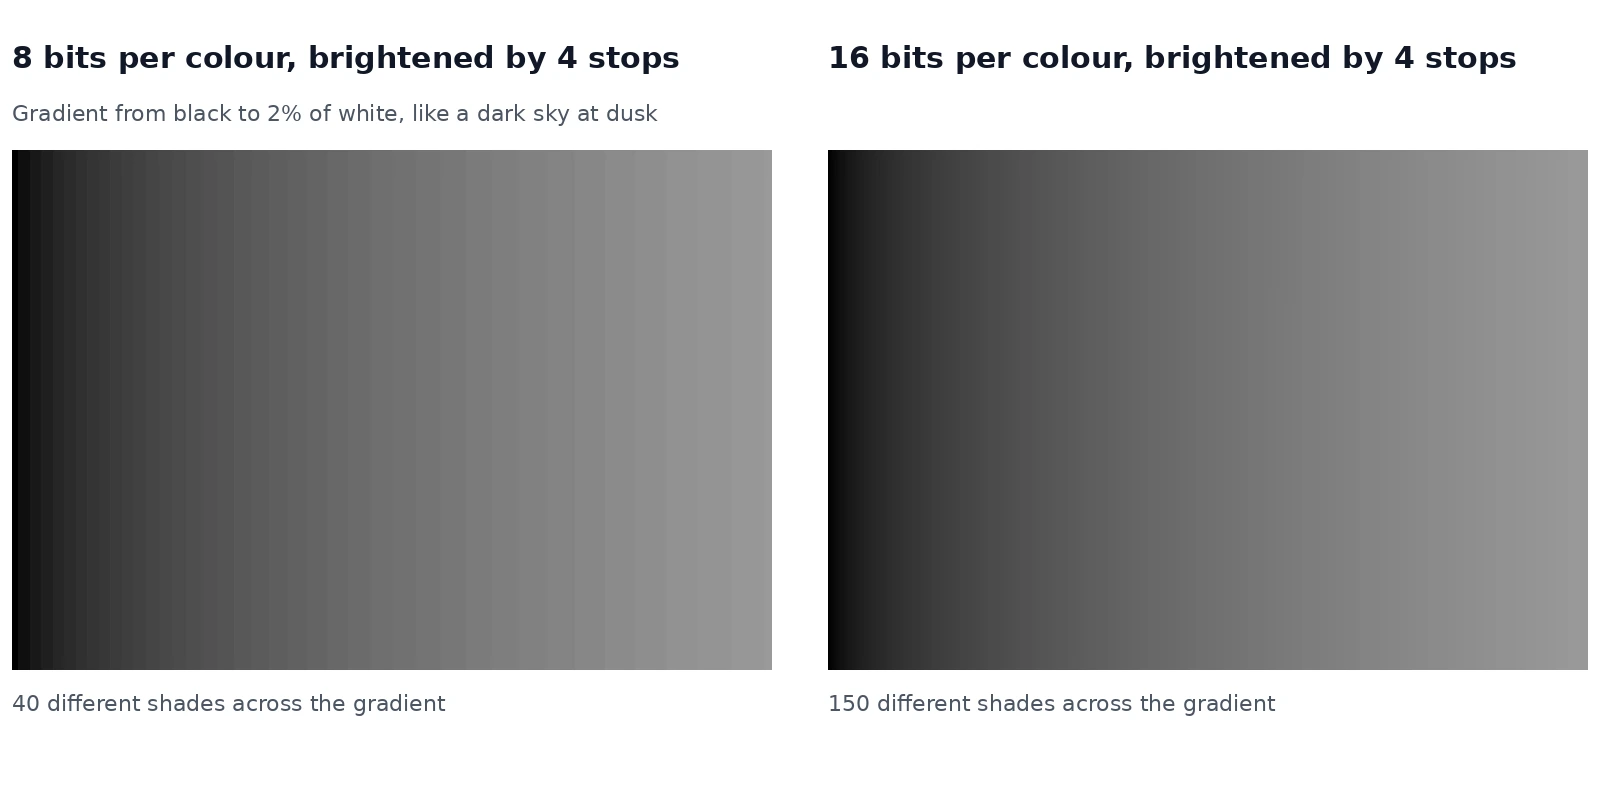
When you brighten a dark photo a lot, a smooth sky or shadow can break into visible steps. This is called banding. Whether you get it depends on how many shades the file holds, and on something easy to overlook: the natural noise in a real photo often hides it. We measured both.
What is banding?
Banding is a form of posterisation: each pixel is rounded to the nearest colour the file can store, and in a gradual gradient, such as a sunset or a clear sky, the eye sees the borders between neighbouring shades as stripes (Wikipedia). The fewer shades a file has, the bigger the step between them and the more visible the stripes.
A JPG stores 8 bits per colour, which is 256 shades. That is enough for a finished photo, but not much to work with. The dark part of a photo uses only the bottom few dozen of those shades. When you brighten it by 4 stops, which multiplies the light 16 times, the same few dozen shades are stretched over a much wider range, with gaps between them. A RAW file from a camera usually holds 12 or 14 bits, which is 4,096 or 16,384 shades (Wikipedia), so there are far more shades to spread.
How bad is it on a smooth test gradient?
| Gradient | 8 bits per colour | 16 bits per colour |
|---|---|---|
| From black to 0.5% of white: missing shades | 31% | 0% |
| From black to 0.5% of white: what you see | The darkest part stays black, then brightness jumps by 9.7 levels | A smooth gradient |
| From black to 2% of white: missing shades | 12% | 0% |
| From black to 2% of white: what you see | Clear vertical stripes, with steps of 2.6 to 4.3 levels | A smooth gradient |
Does banding appear on real photos too?
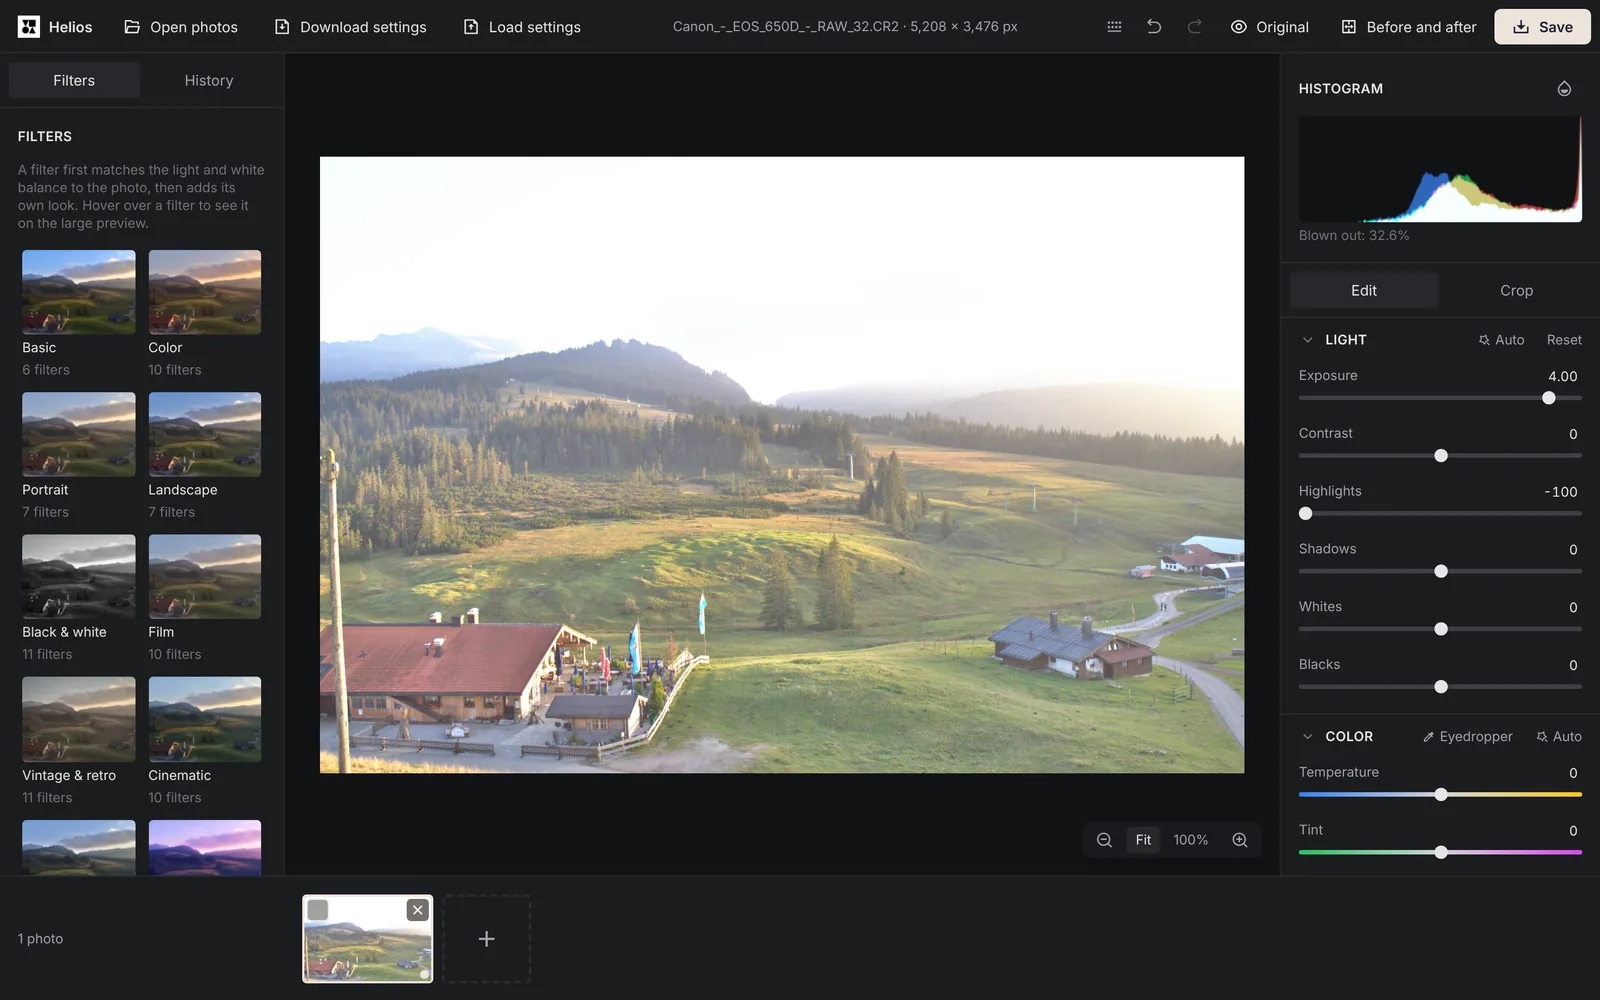
Less often than the test suggests. We took an evening photo of a mountain valley from a Canon EOS 650D, taken with exposure compensation at −2, so 2 stops too dark, and opened both the RAW file and the full-size JPG the camera saved inside it in Helios, our free photo editor. We brightened both with Exposure +4 and Highlights −100, saved them as PNG and counted the shades in the dark forest on the left.
Neither version showed banding there. The JPG used 201 of 204 possible shades in that area, and the RAW file 178 of 179. The reason is noise: a real photo has fine random variation, which fills the gaps between shades, and Helios adds a very faint noise of its own for the same purpose, a technique called dithering (Wikipedia). The difference showed elsewhere: in the JPG, the top left of the sky ended up between 253 and 255, almost pure white, while the RAW file kept 8 shades there.
So banding is a risk mainly in smooth, clean areas: a clear blue sky, a studio background, a plain wall, especially in photos taken at low ISO, where there is little noise to hide it.
How do you avoid banding when you brighten a photo?
These steps help in any editor; the slider names are the ones in Helios.
1. Shoot RAW in dark scenes
For dusk, interiors and night shots, a RAW file gives you far more shades to brighten. Our guide on fixing a dark photo shows which slider to use for each kind of dark photo.2. Brighten the dark parts, not everything
Shadows lifts only the dark areas and leaves the sky alone, so a smooth sky doesn’t get stretched.3. Check smooth areas at 100%
Look at the sky or a plain wall at 100% zoom. Stripes that are hard to see on the whole photo are clear there.4. Add a little Grain if stripes appear
A small amount of Grain in the Effects section breaks up visible steps, the same way dithering does.
When does Helios work in 8 bits?
Helios develops RAW files at 16 bits per colour. On a device with little memory, a very large RAW file may not fit, and then the editor works on it at 8 bits and tells you: the message says you won’t notice this in normal editing, but that banding may appear if you brighten the shadows a lot. JPG, PNG and HEIC files are already 8-bit photos, so on a smooth, noise-free gradient they behave like the 8-bit column of the test above.
Sources
- Colour banding, Wikipedia
- Raw image format, Wikipedia
Frequently asked questions about banding
Does blurring remove banding?
No. The stripes come from too few shades in the file, so blurring an 8-bit image keeps the same steps, just softer. It helps only when the image is stored with more bits per colour than the original had (Wikipedia).
Should I save my photos as 16-bit files?
For further editing in another program, a 16-bit TIFF keeps the extra shades. Helios saves 8-bit files, so make the strong edits in Helios before you save. For sharing and printing, an 8-bit JPG is enough.
More guides
 6 min read
Can you fix an overexposed photo? What RAW gets back and JPG doesn’t
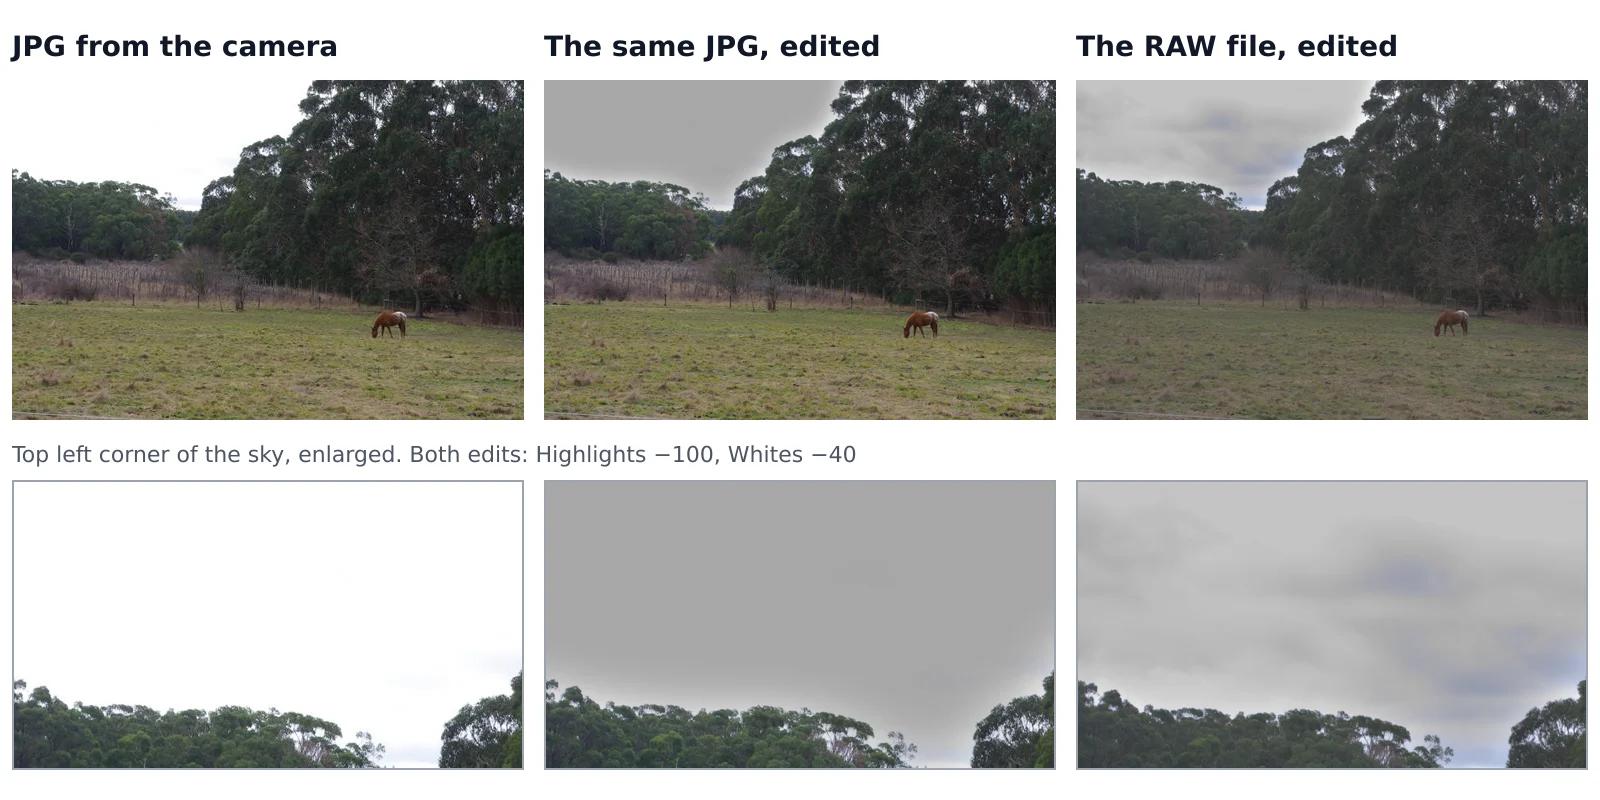
A sky that came out pure white looks the same whether you shot JPG or RAW, but it isn’t the same. In a JPG, the camera has already thrown away everything brighter than white. A RAW file often keeps some of it, and an editor can bring it back. We tested this on one shot that the camera saved both as a RAW file and as a JPG, with the same sliders on both.Read the guide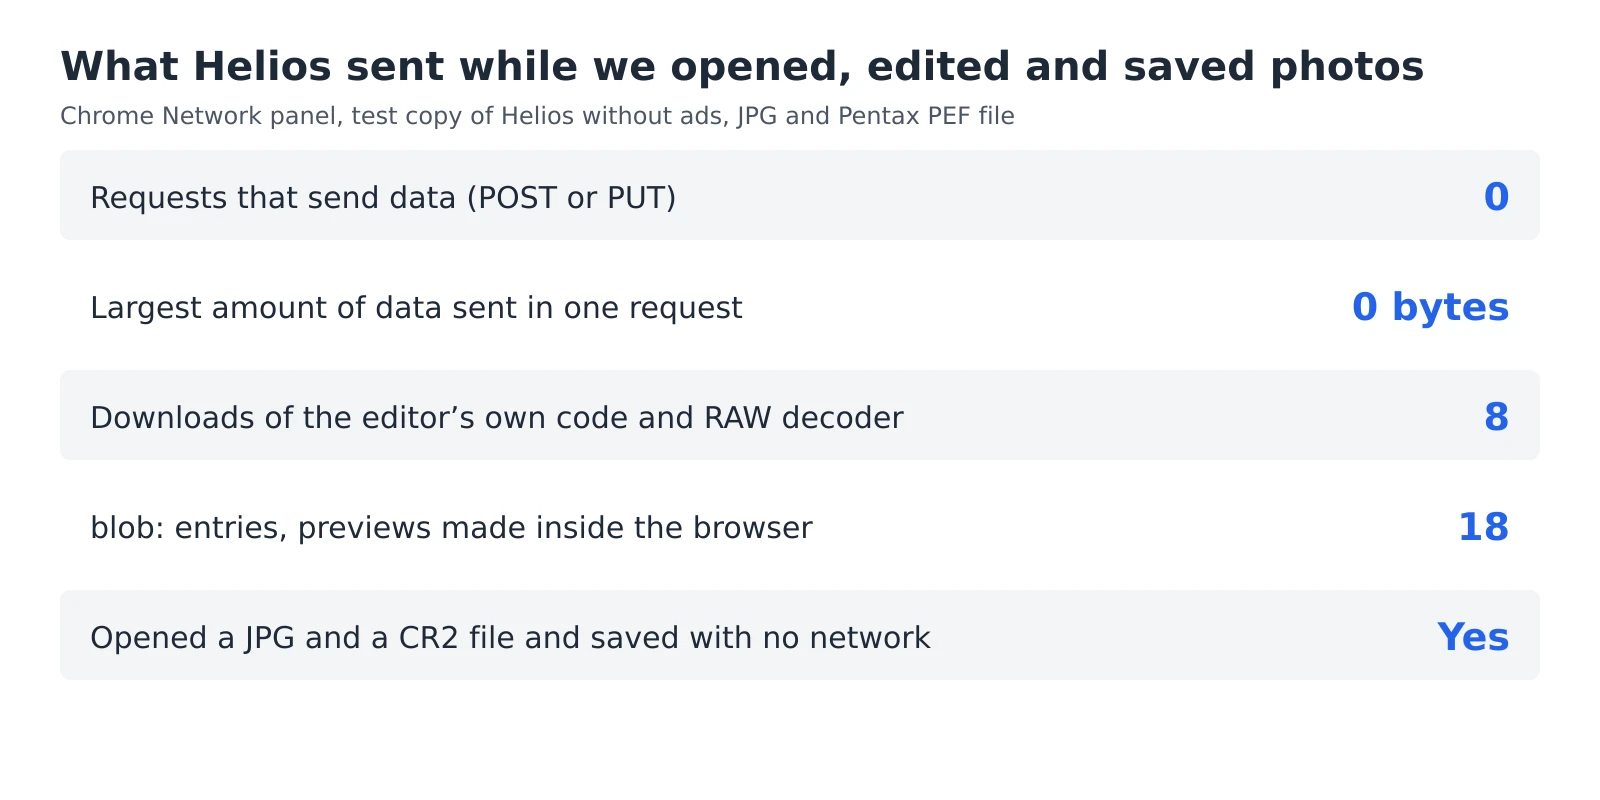 6 min read
How to check whether a photo editor uploads your photos
An editor can say that your photos stay private, but you don’t have to take its word for it. Every browser has a built-in list of everything a web page sends and receives, and a second test needs nothing more than switching off your Wi-Fi. Together they take five minutes and work with any editor that runs in a browser, including ours.Read the guide 7 min read
How to reduce noise in a photo without AI
A photo taken indoors or at dusk often looks fine on the phone screen and grainy on a computer. That grain is noise, and you can reduce it without any AI tool or subscription, with filters that photo editors have used for years. They work well up to a point, and we measured that point on a real photo taken at ISO 6400.Read the guide