How to fix a dark photo: brighten an underexposed picture for free
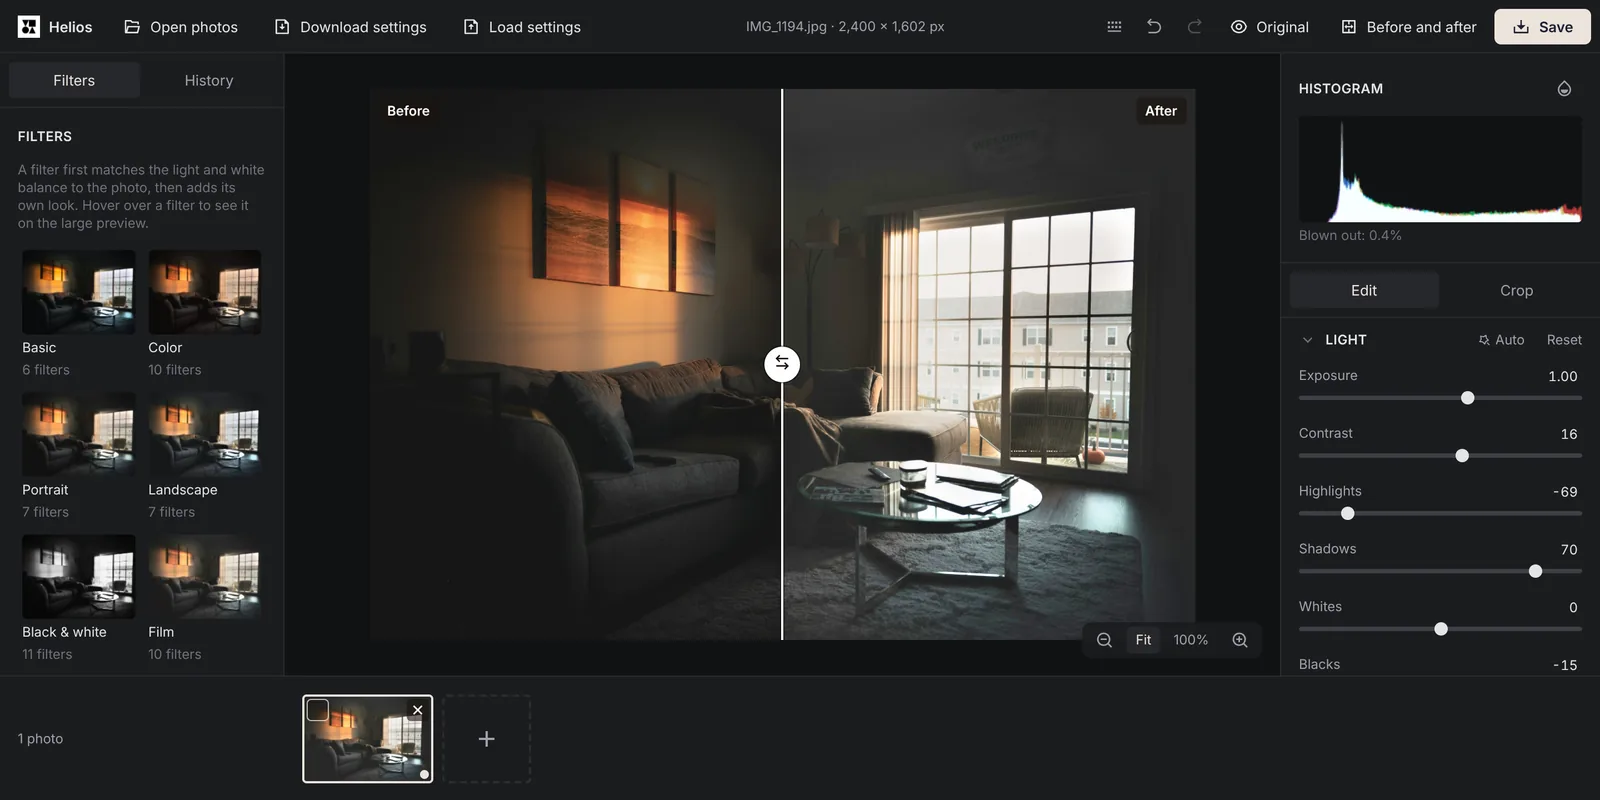
A photo can come out too dark even when the scene looked bright to you: a room in front of a sunny window, a face against the sky or a party in the evening. Most of these photos can be saved in a few clicks, and the right slider depends on what exactly is too dark.
How do you brighten a dark photo?
Four steps fix most dark photos. The slider names are the ones you’ll see in Helios.
1. Open the photo
Open Helios, click Open photos and choose the photo, or drag it onto the editor.2. Click Auto in the Light section
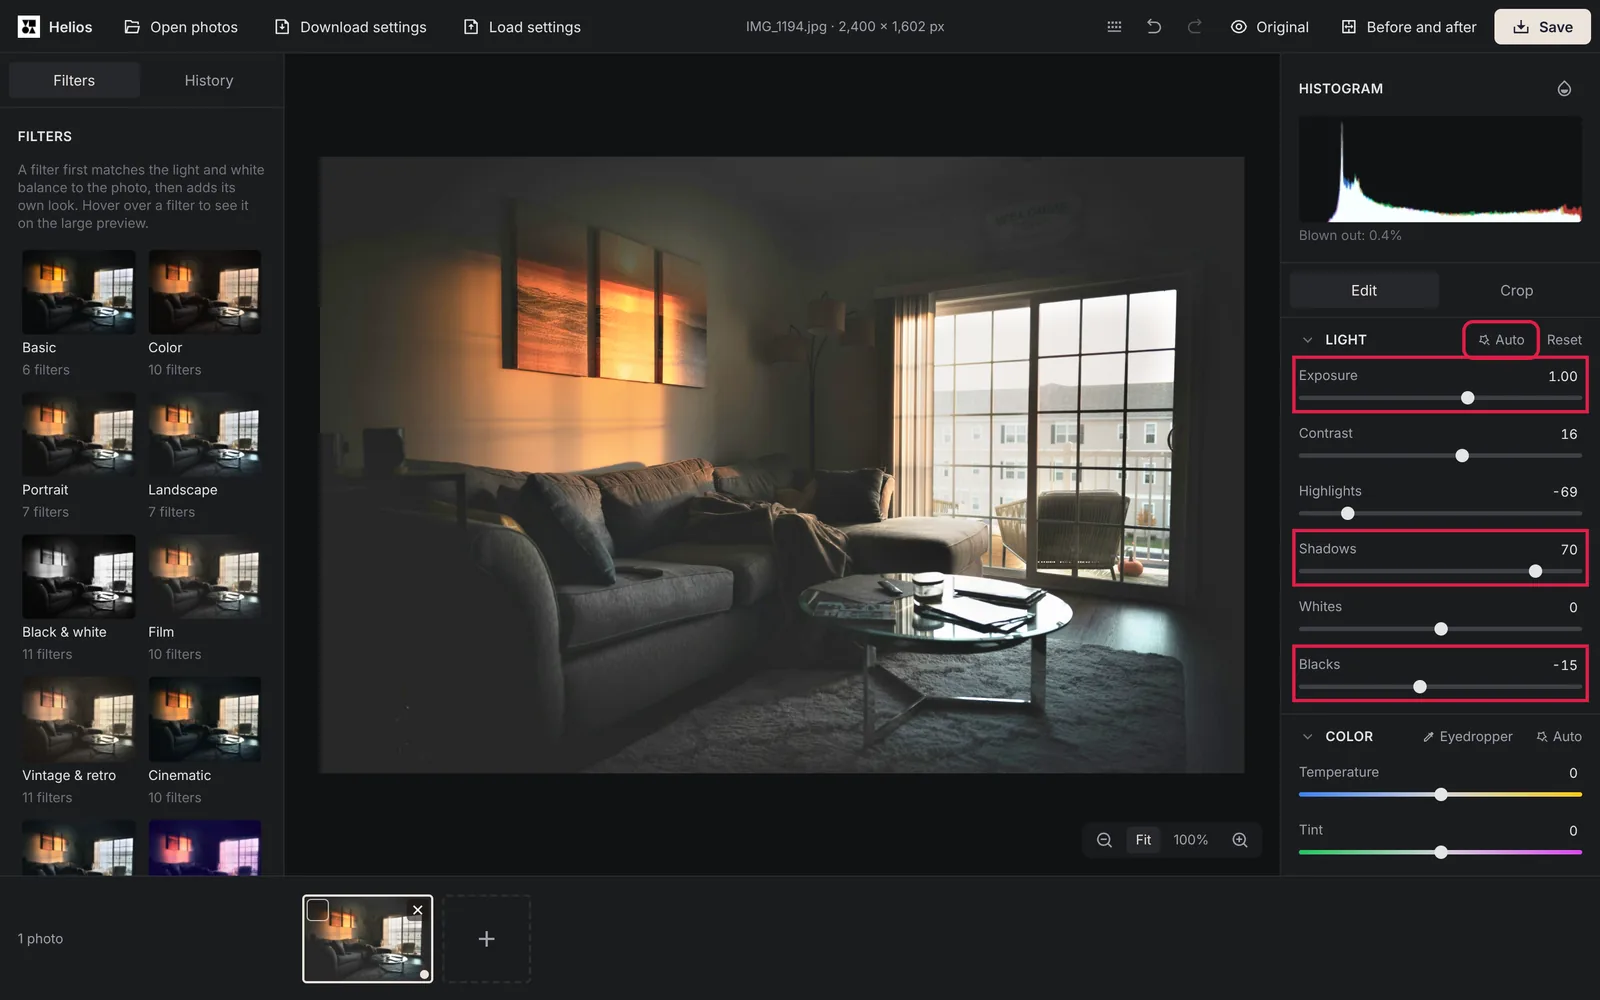
The Auto button sets the light for this photo and makes sure the bright areas don’t blow out. For many dark photos this step is enough.3. Fine-tune the part that is still too dark
If the photo is still too dark, use Exposure when the whole photo is dark and Shadows when only the people or the room are.4. Check the bright areas and save
Click the Show clipping icon next to Histogram or press J. Areas marked in red have lost their detail, so bring them back before you click Save.
Why do photos come out too dark?
The camera measures the light and chooses an exposure that keeps the scene, on average, in the middle of the brightness range it can record. When a large part of the frame is very bright, the camera darkens the whole picture to compensate. With averaging metering, a snowy landscape can come out underexposed by 2 stops or more (Wikipedia), and 2 stops means only a quarter of the light, because each stop halves it (Wikipedia).
The same happens with a person standing in front of a bright window or the sky: the face comes out much darker than the light around it (Wikipedia). Evening photos and rooms lit by a single lamp are a different case. There is little light, so the camera has to choose between a dark photo and a blurred one.
Which slider fixes which kind of dark photo?
| What you see | Slider in Helios | What to do |
|---|---|---|
| The whole photo is dark, with no bright areas | Exposure | Move it to the right. Each step of 1 doubles the light in the photo, the same as one stop on a camera, so +1 fixes a photo that was one stop too dark. |
| People or the room are dark, the window or sky is bright | Shadows | Move it to the right. It brightens only the dark parts, so the bright background stays as it was. |
| The room is still dark after Auto | Blacks, then Shadows | Auto sometimes moves Blacks far to the left to bring back a deep black, which keeps the shadows dark. Move Blacks back towards zero, then raise Shadows. |
| The sky turned white after brightening | Highlights, then Whites | Move Highlights to the left. If clouds still don’t come back, lower Whites a little as well. |
| The brightened photo looks grey and flat | Blacks and Contrast | Move Blacks to the left so that the darkest areas turn black again, and add a little Contrast. |
| Grain appeared in the brightened areas | Noise reduction in the Detail section | Add it slowly and check the result at 100% zoom, because the preview of the whole photo hides fine grain. |
How far can you brighten a photo?
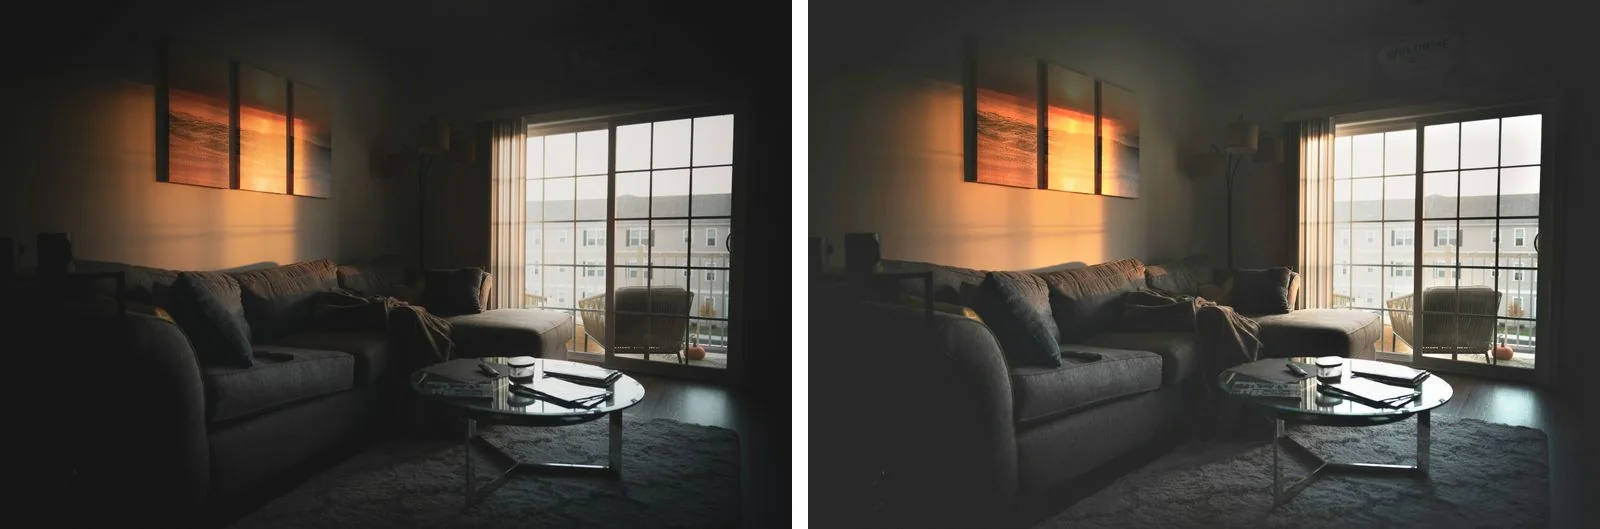
A JPG or a phone photo stores 256 shades per colour. When you stretch the darkest of them across a much wider range, grain appears, and smooth, clean areas such as a clear sky or a plain wall can break into visible bands. The more you brighten, the more of both you see, so a photo that is several stops too dark rarely comes back looking clean. Our test of banding in 8-bit and 16-bit files shows when the bands appear and why the natural noise of a photo often hides them.
A RAW file from a camera has 4,096 to 16,384 shades per colour (Wikipedia), so it takes much stronger brightening before anything breaks up. If your camera can shoot RAW, it’s worth turning on for evening and indoor photos. Our guide on editing RAW photos for free explains the rest of the edits that work best on RAW files.
To see whether you’ve gone too far, hold the Original button on the top bar or press \, and let go to see your version again. The Before and after button (Y key) shows both versions side by side, split by a line you can drag.
Sources
- Metering mode, Wikipedia
- Exposure value, Wikipedia
- Raw image format, Wikipedia
Frequently asked questions about fixing dark photos
Can I brighten several dark photos at once?
Yes. Brighten one photo from the set, select the others and click Apply settings to selected. Our guide on how to batch edit photos shows each step.
Why doesn’t Auto darken a photo that is too bright?
Auto in the Light section brightens dark photos but leaves a bright photo alone unless part of it is blown out. To darken a photo that is too bright, move Exposure to the left.
More guides
 6 min read
Can you fix an overexposed photo? What RAW gets back and JPG doesn’t
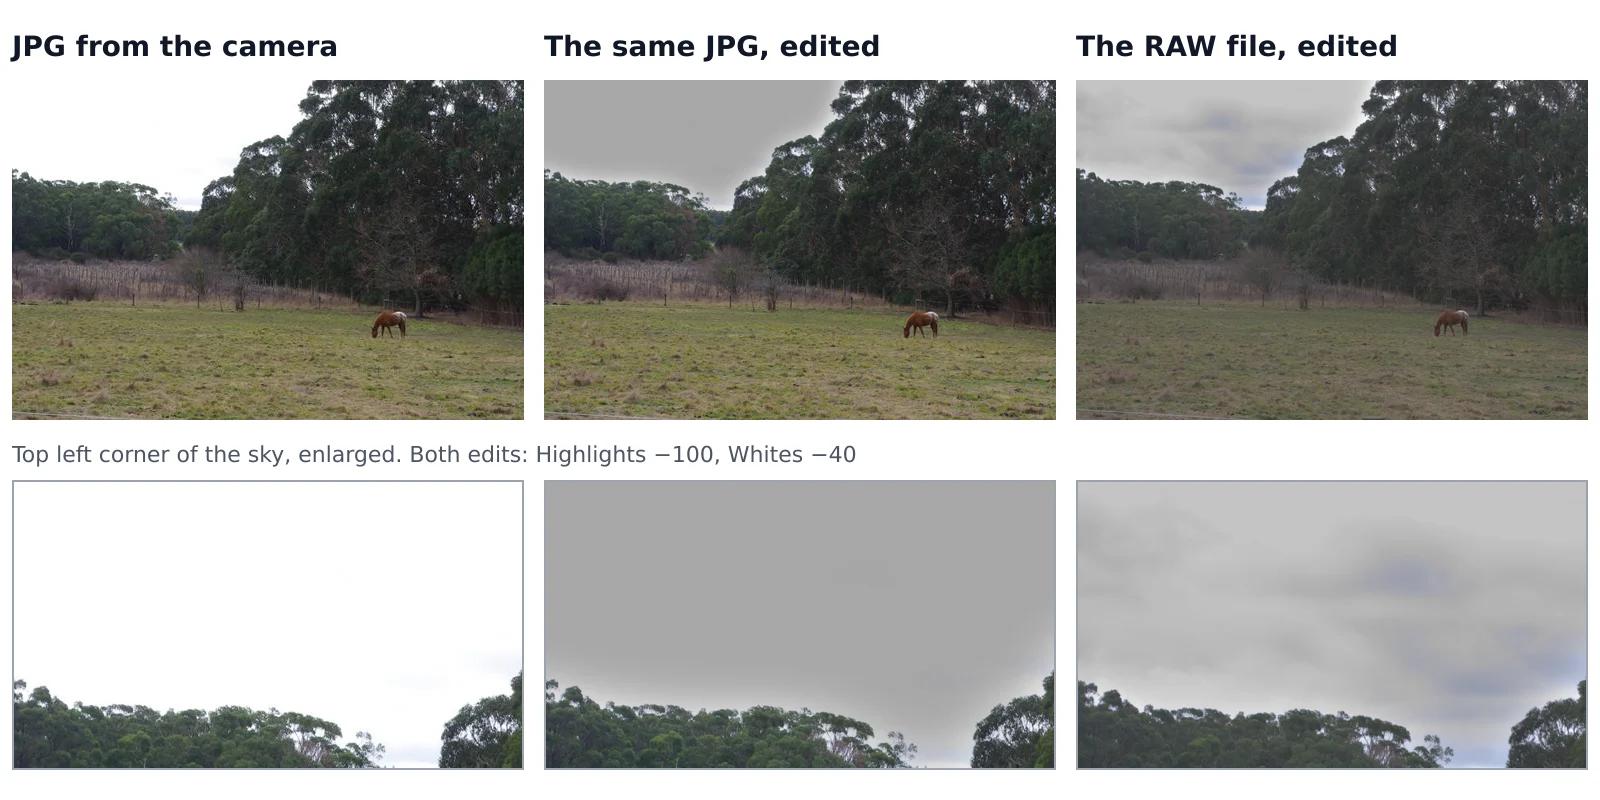
A sky that came out pure white looks the same whether you shot JPG or RAW, but it isn’t the same. In a JPG, the camera has already thrown away everything brighter than white. A RAW file often keeps some of it, and an editor can bring it back. We tested this on one shot that the camera saved both as a RAW file and as a JPG, with the same sliders on both.Read the guide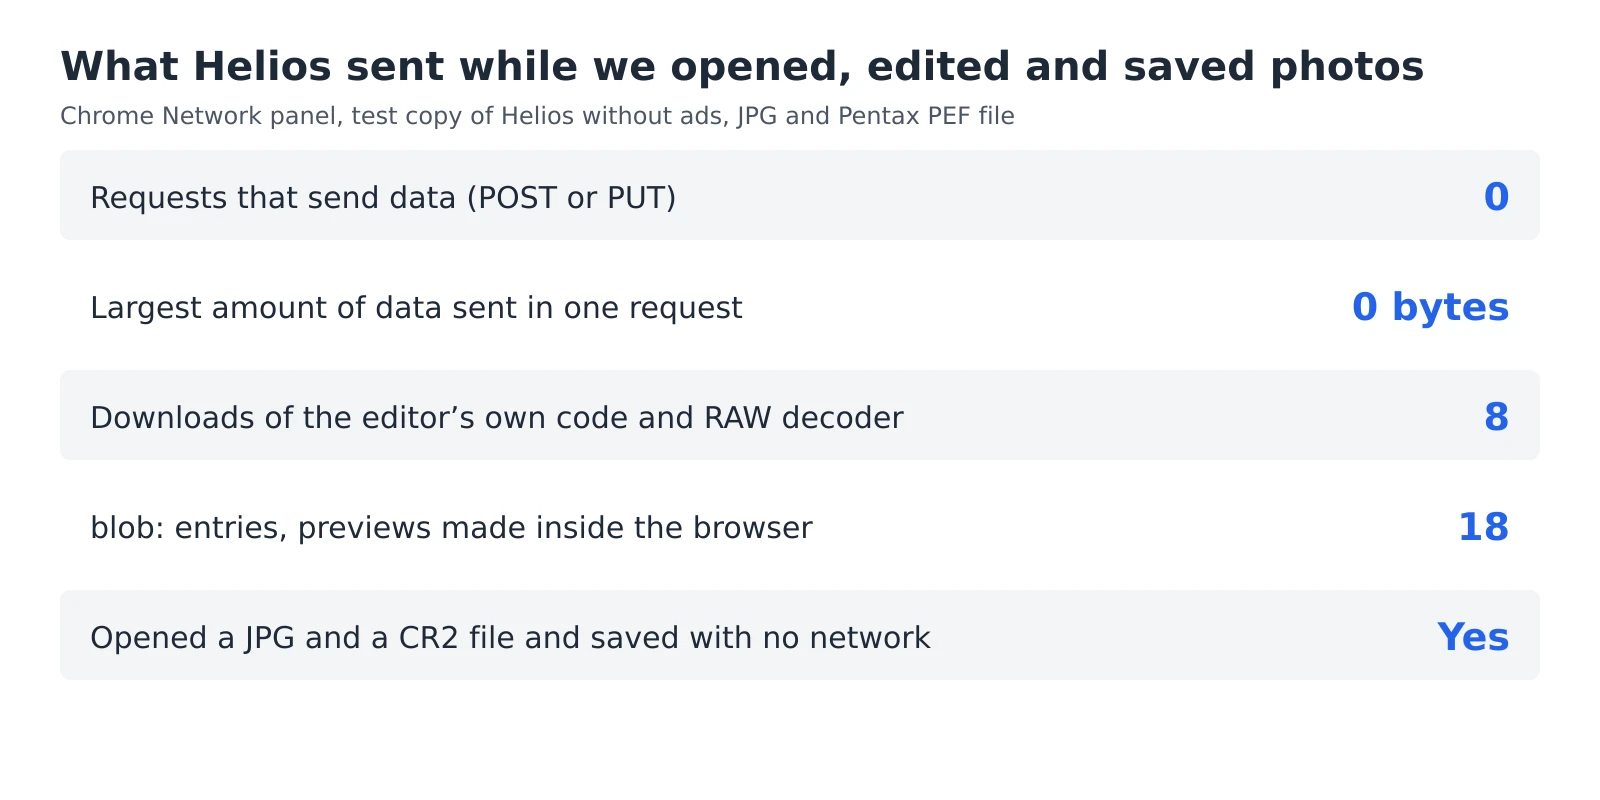 6 min read
How to check whether a photo editor uploads your photos
An editor can say that your photos stay private, but you don’t have to take its word for it. Every browser has a built-in list of everything a web page sends and receives, and a second test needs nothing more than switching off your Wi-Fi. Together they take five minutes and work with any editor that runs in a browser, including ours.Read the guide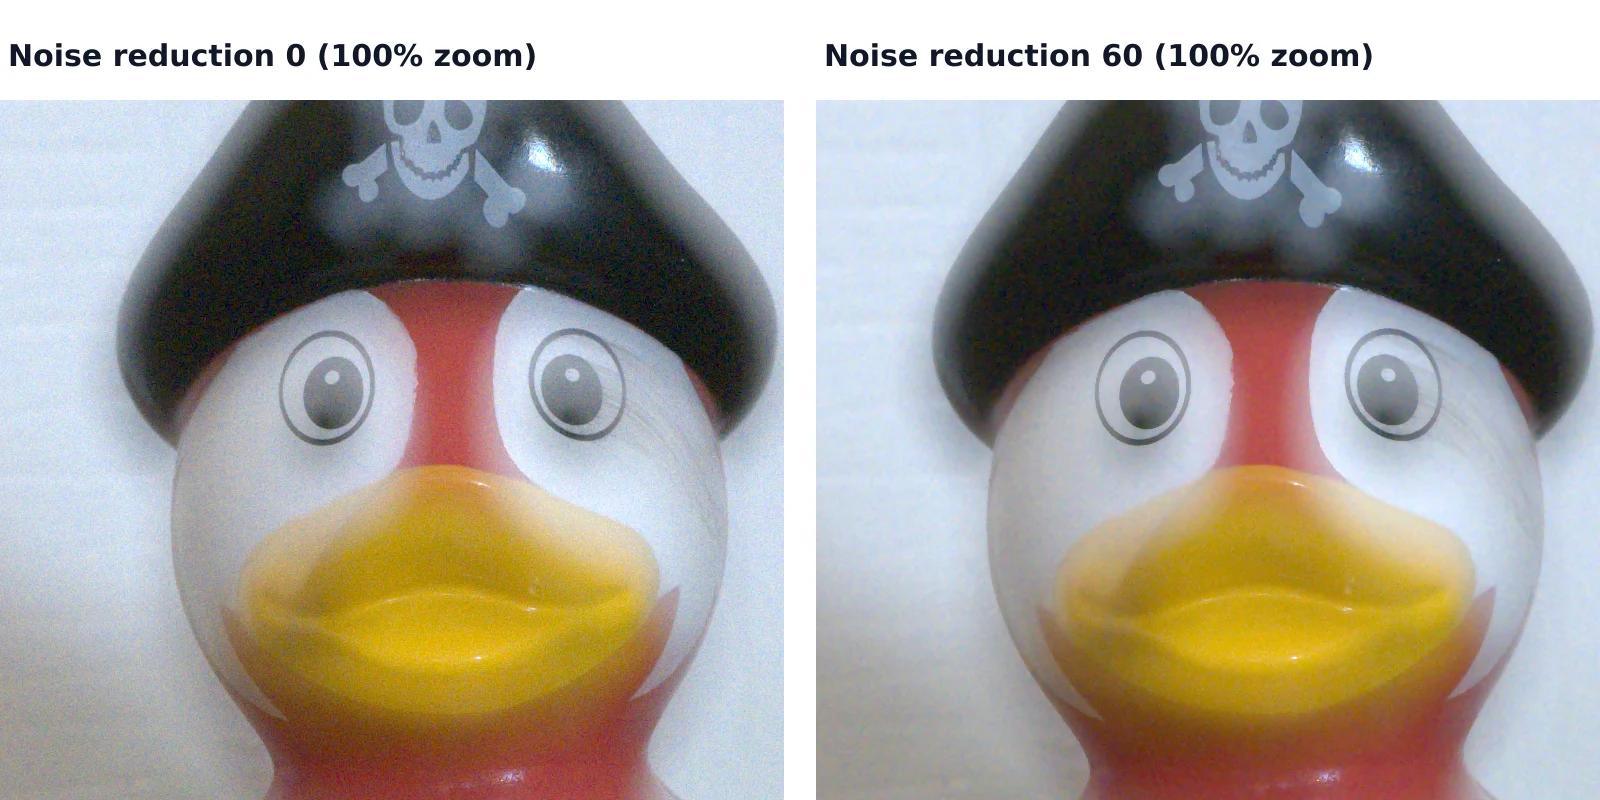 7 min read
How to reduce noise in a photo without AI
A photo taken indoors or at dusk often looks fine on the phone screen and grainy on a computer. That grain is noise, and you can reduce it without any AI tool or subscription, with filters that photo editors have used for years. They work well up to a point, and we measured that point on a real photo taken at ISO 6400.Read the guide