How to remove a yellow tint from a photo and fix the white balance
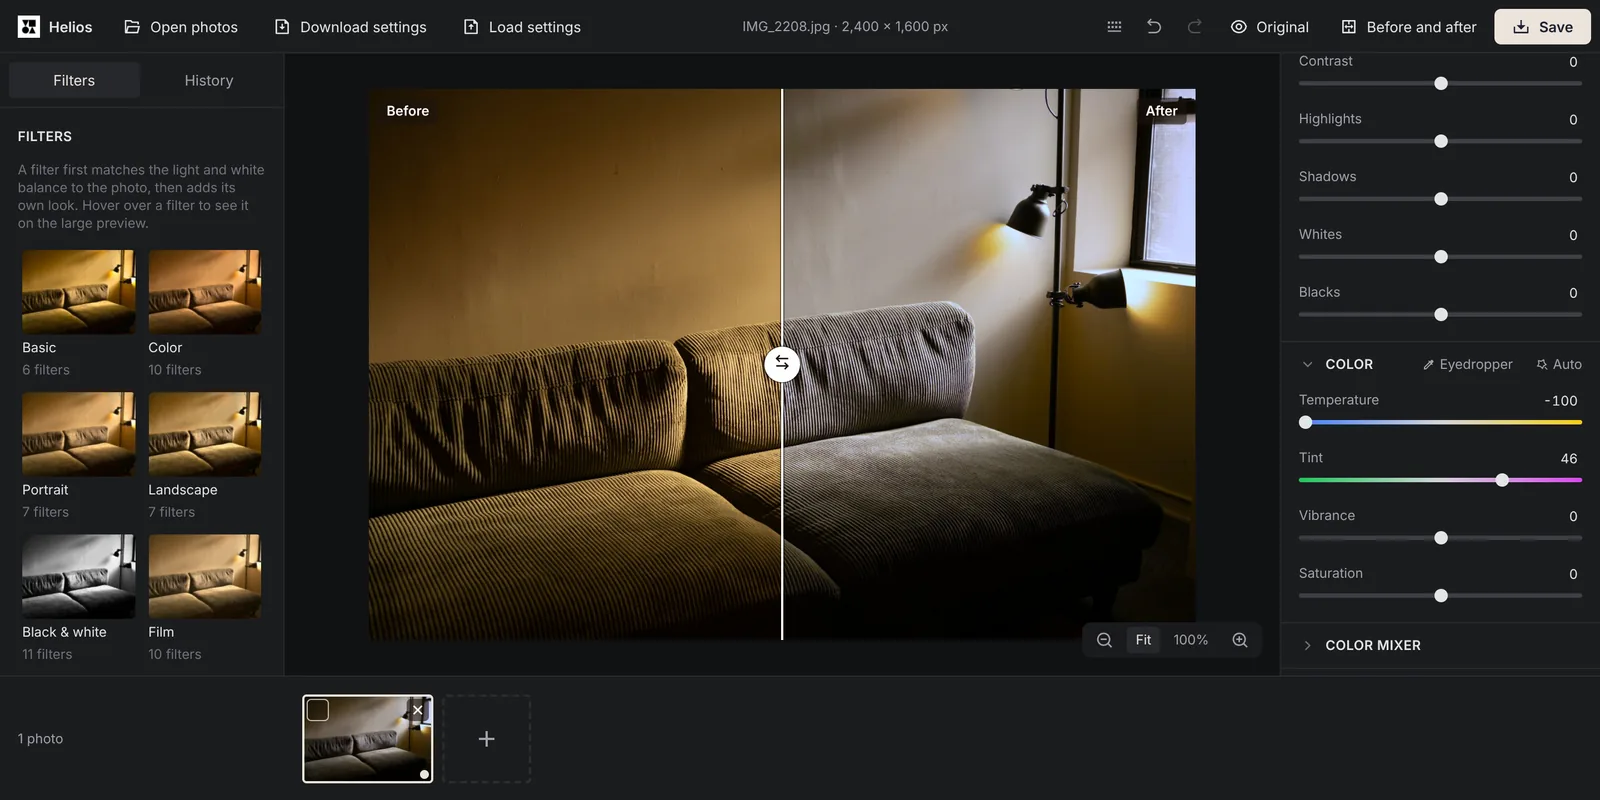
Photos taken indoors in the evening often come out yellow or orange, and photos taken in the shade come out blue. The tint comes from the colour of the light, and you can remove it in a few seconds by showing the editor something that should be white.
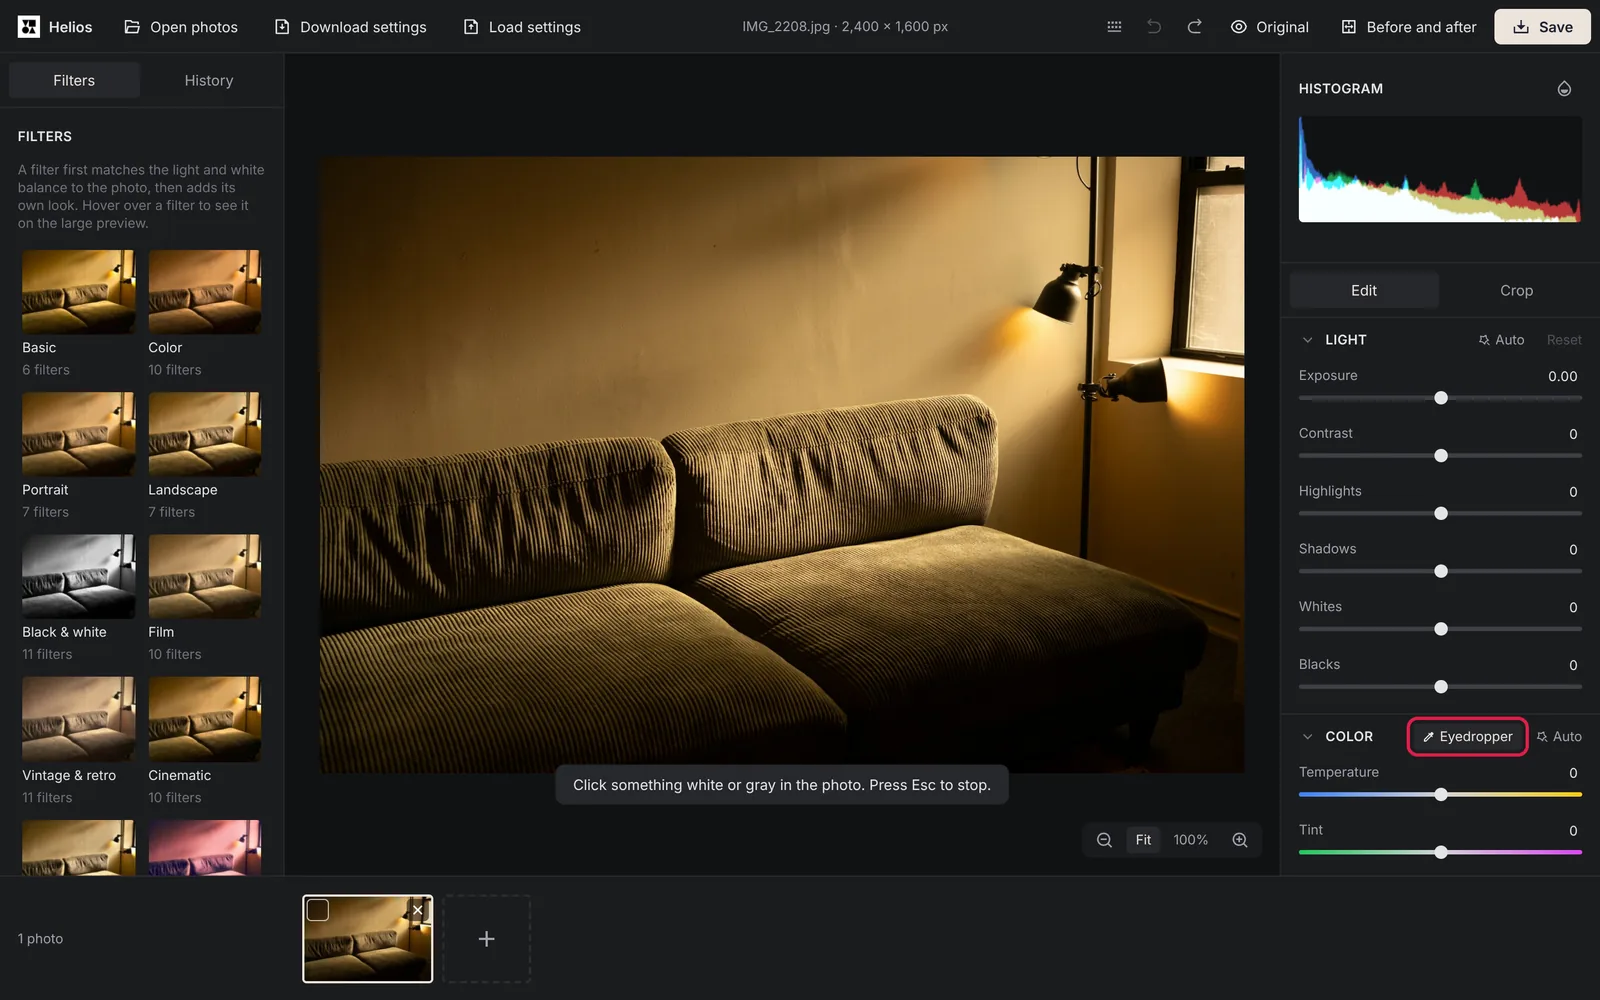
How do you remove a yellow tint from a photo?
The quickest way is to show the editor something that should be white or grey. It then works out how much yellow to take out of the whole photo.
1. Open the photo
Open Helios, click Open photos and choose the photo, or drag it onto the editor.2. Click the Eyedropper in the Color section
Then click something in the photo that is really white or light grey: a sheet of paper, a white wall, a shirt or a cloud. Avoid areas blown out to pure white, because they no longer show the colour of the light; if you click one, the editor asks you to pick another spot. Esc turns the Eyedropper off.3. Fine-tune with Temperature and Tint
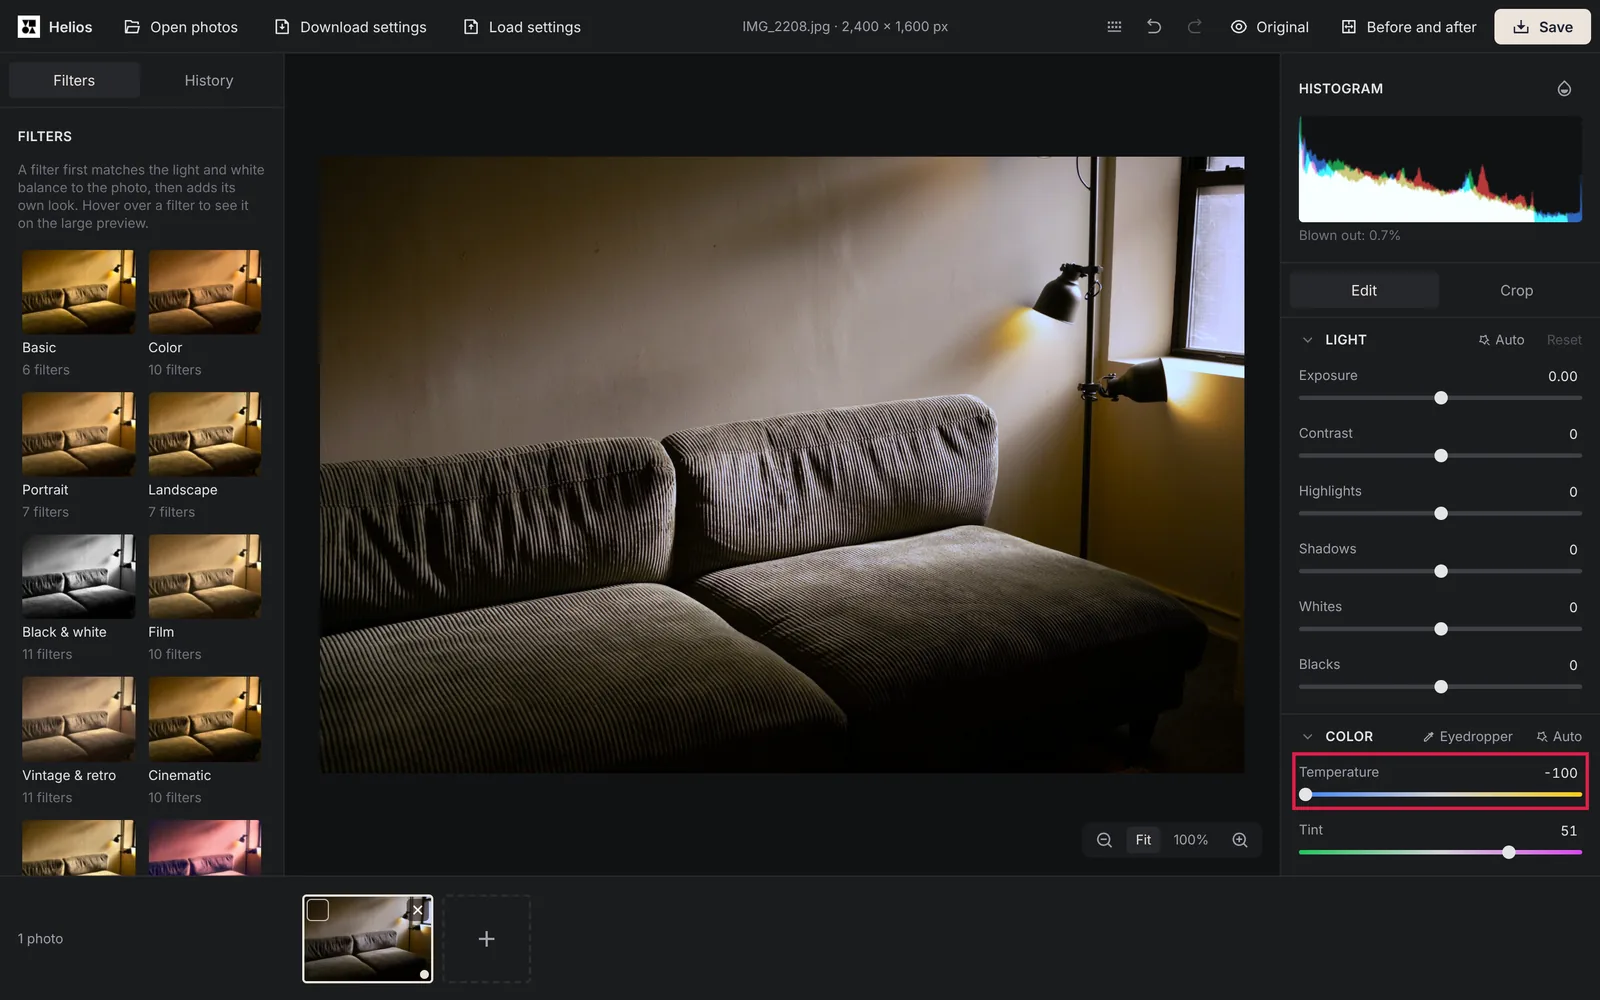
Temperature shifts the colours between blue and yellow, so moving it to the left takes out more yellow. Tint shifts them between green and magenta. If there is nothing white in the photo, skip the Eyedropper and click Auto in the Color section instead. Under very warm lamps the correction can reach the end of the Temperature slider at −100, and a trace of yellow stays; that’s the most the slider can take out.4. Compare and save
Hold the Original button on the top bar to see the photo before your changes, then click Save. Your original file stays untouched.
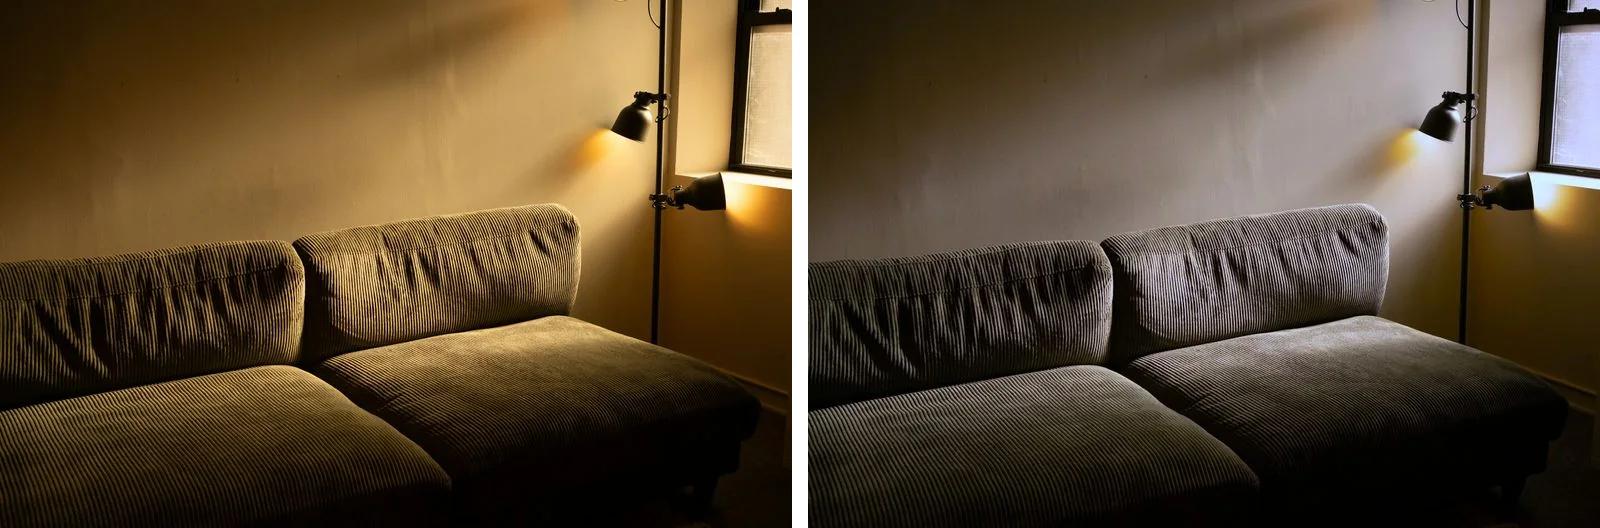
Why do photos come out yellow indoors?
Every light source has its own colour, measured as a colour temperature in kelvins. Daylight sits between about 5,500 and 6,500 K, while ordinary and warm white bulbs give light of about 2,400–3,000 K, which looks yellowish (Wikipedia). Your eyes adjust to it so quickly that a white wall still looks white to you in the evening. A camera has to work out the colour of the light itself, and when it gets it wrong, the yellow ends up in the photo.
The camera’s automatic white balance tries to recognise the light and correct for it, and today it gets most scenes right (Wikipedia). The usual trouble spots are warm lamps in the evening, rooms where one colour dominates, such as wooden furniture or an orange wall, and scenes lit by two different lights at once.
What tint does each kind of light give, and how do you fix it?
| Light | Colour of the photo | What to do in Helios |
|---|---|---|
| Warm indoor lamps, about 2,400–3,000 K | Yellow or orange | Use the Eyedropper on something white, or move Temperature to the left. |
| Candlelight and sunsets | Deep orange | Often you’ll want to keep it. Auto in the Color section keeps most of a dominant sunset colour, and you can take out just a little with Temperature. |
| Daylight, about 5,500–6,500 K | Neutral | Usually it needs nothing. If the photo looks too cold or too warm, move Temperature slightly. |
| Overcast sky, shade and window light | Bluish | Move Temperature to the right, or use the Eyedropper on a white or grey object. |
| Fluorescent tubes | Often greenish | Move Tint to the right, towards magenta, until white things stop looking green. |
Why is yellow light called warm when its colour temperature is lower?
It’s a common source of confusion. In physics, a hotter light source gives bluer light, so blue light has the higher colour temperature. In art and design, though, yellow and orange are called warm colours and blue is called cool, because of how they feel rather than how they are measured (Wikipedia).
In practice this means a warm, yellowish photo has a low colour temperature, around 3,000 K, and a cool, bluish one a high temperature. In Helios you don’t need to think in kelvins at all, because the sliders work on the colours you see in the photo.
What if one part of the photo is yellow and another blue?
This happens when a room is lit by a lamp and a window at the same time. The white balance changes the whole photo at once, so it can make either the lamp-lit part or the window-lit part neutral, but not both. Photographers deal with this while shooting by putting colour-correcting filters over each light (Wikipedia), which you can’t do once the photo is taken.
Set the white balance for the part that matters most, usually the faces, using the Eyedropper on something white near them. If the other part still has a strong tint, open the Color mixer section, choose Saturation and move the Yellow or Orange slider a little to the left. This weakens only that colour, but it also dulls yellow and orange objects, so check skin and wood afterwards.
Sources
- Color temperature, Wikipedia
Frequently asked questions about yellow photos
How do I fix an old scanned photo that has turned yellow?
Use the Eyedropper on the white border of the print or on something in the picture that used to be white. The editor removes the yellow cast from the whole scan. If the border itself is stained unevenly, try a few spots and keep the one that looks most natural.
Can I fix the white balance of many photos at once?
Yes, if they were taken in the same light. Fix one photo, select the others and click Apply settings to selected. Our guide on how to batch edit photos explains when this works and when the set needs splitting into groups.
Does this work on JPG photos or only on RAW files?
It works on JPG, HEIC, PNG and every other format Helios opens. A RAW file gives you more room, because you can set any white balance after the shot without the colours breaking up, as our guide on editing RAW photos for free explains.
More guides
 6 min read
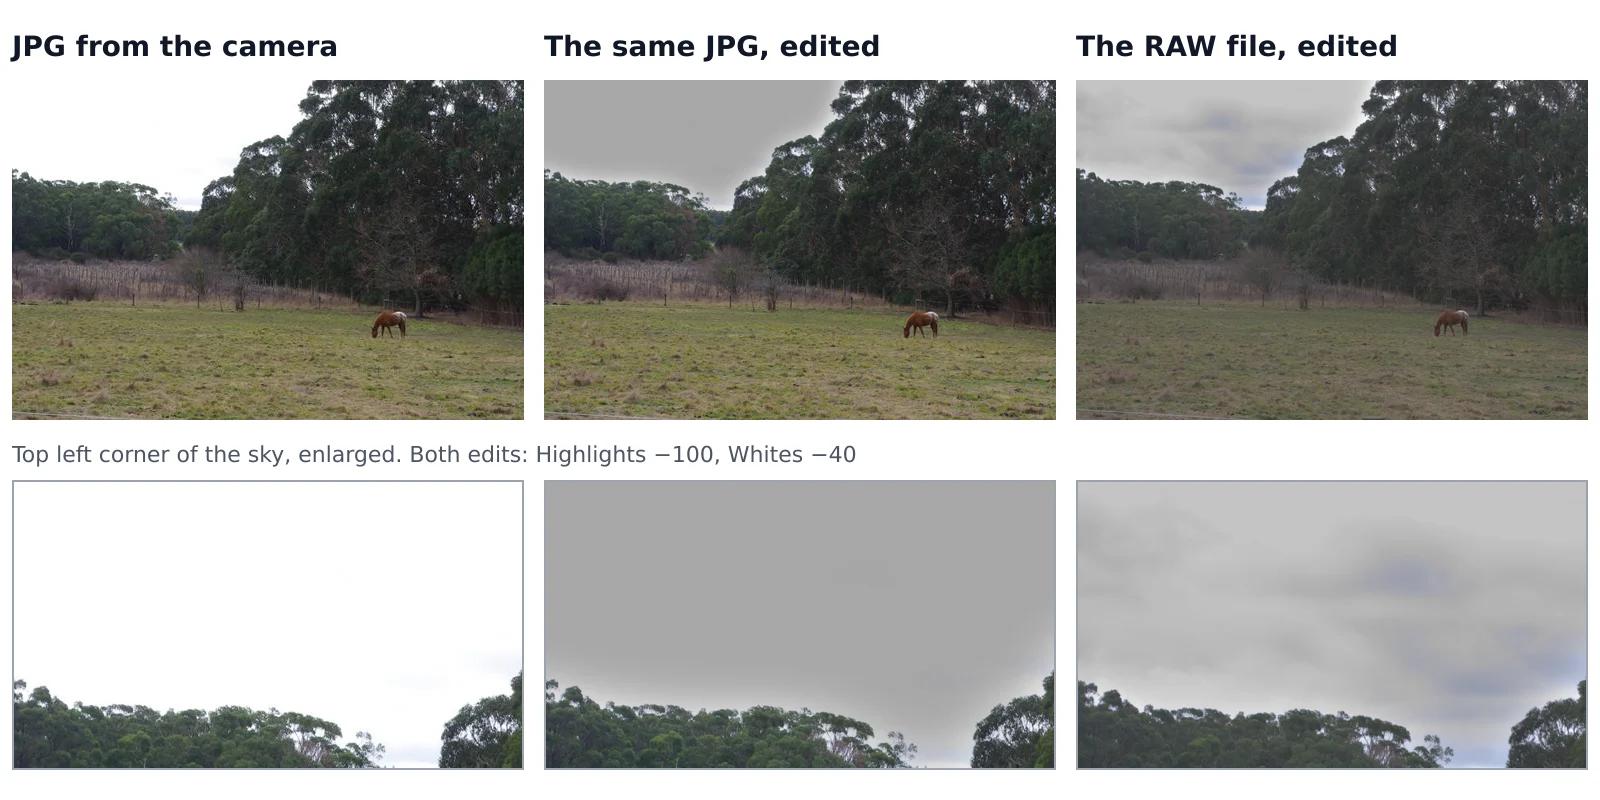
Can you fix an overexposed photo? What RAW gets back and JPG doesn’t
A sky that came out pure white looks the same whether you shot JPG or RAW, but it isn’t the same. In a JPG, the camera has already thrown away everything brighter than white. A RAW file often keeps some of it, and an editor can bring it back. We tested this on one shot that the camera saved both as a RAW file and as a JPG, with the same sliders on both.Read the guide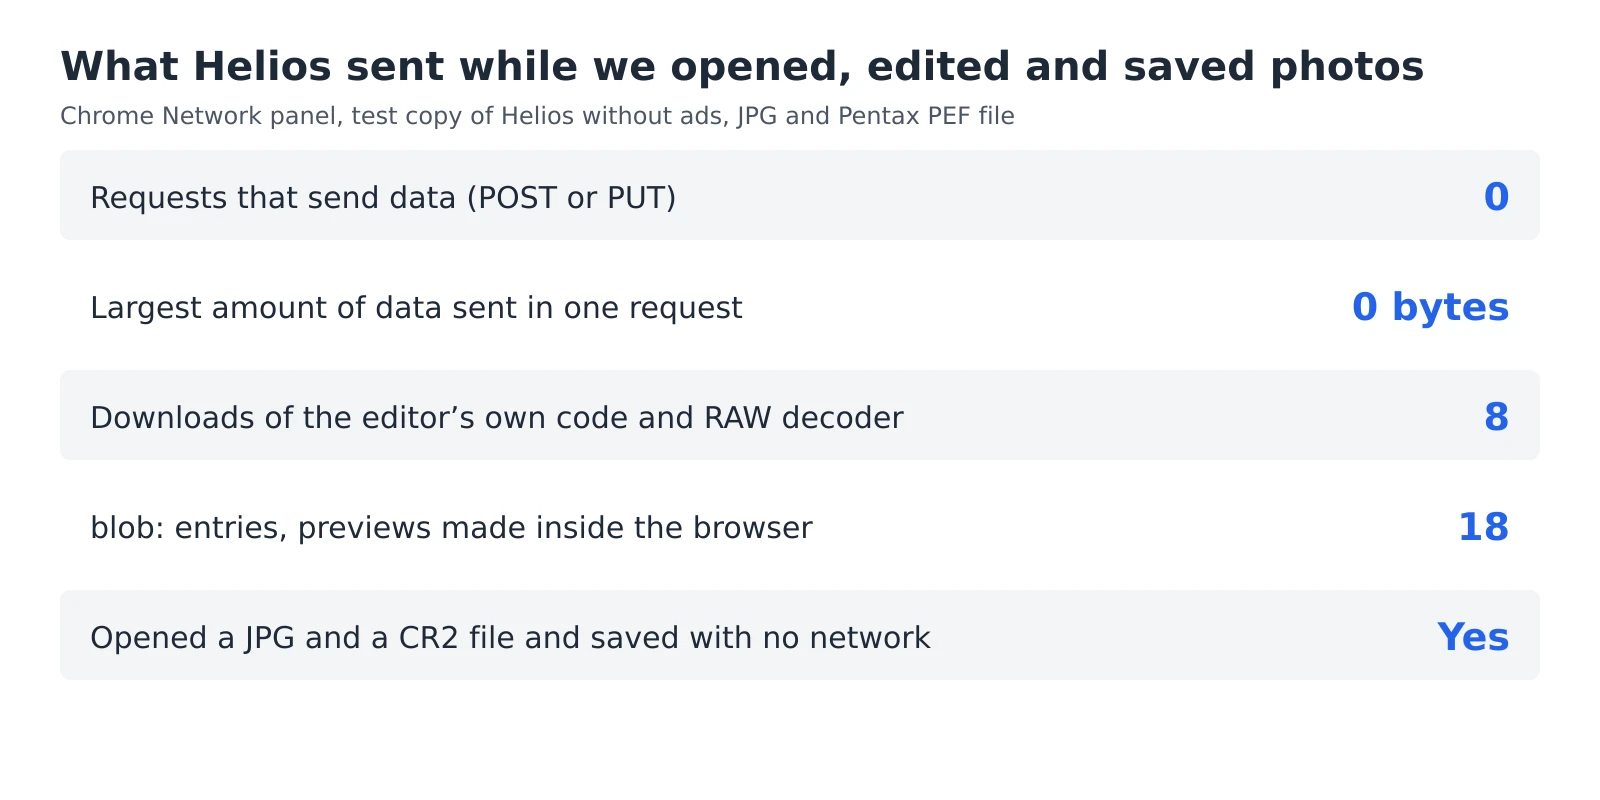 6 min read
How to check whether a photo editor uploads your photos
An editor can say that your photos stay private, but you don’t have to take its word for it. Every browser has a built-in list of everything a web page sends and receives, and a second test needs nothing more than switching off your Wi-Fi. Together they take five minutes and work with any editor that runs in a browser, including ours.Read the guide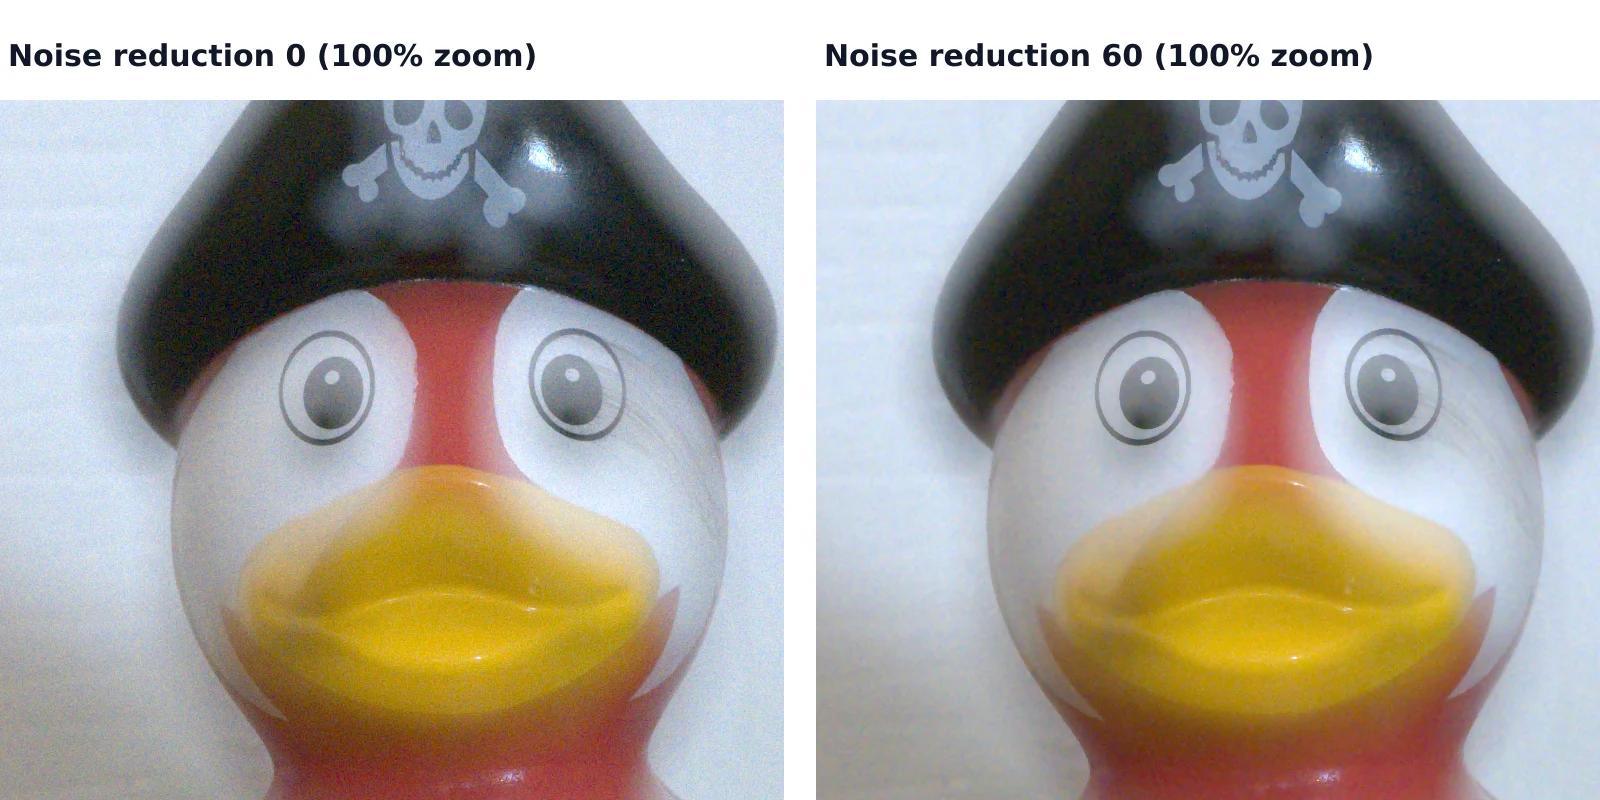 7 min read
How to reduce noise in a photo without AI
A photo taken indoors or at dusk often looks fine on the phone screen and grainy on a computer. That grain is noise, and you can reduce it without any AI tool or subscription, with filters that photo editors have used for years. They work well up to a point, and we measured that point on a real photo taken at ISO 6400.Read the guide