Free image editor: resize, crop and convert your photo
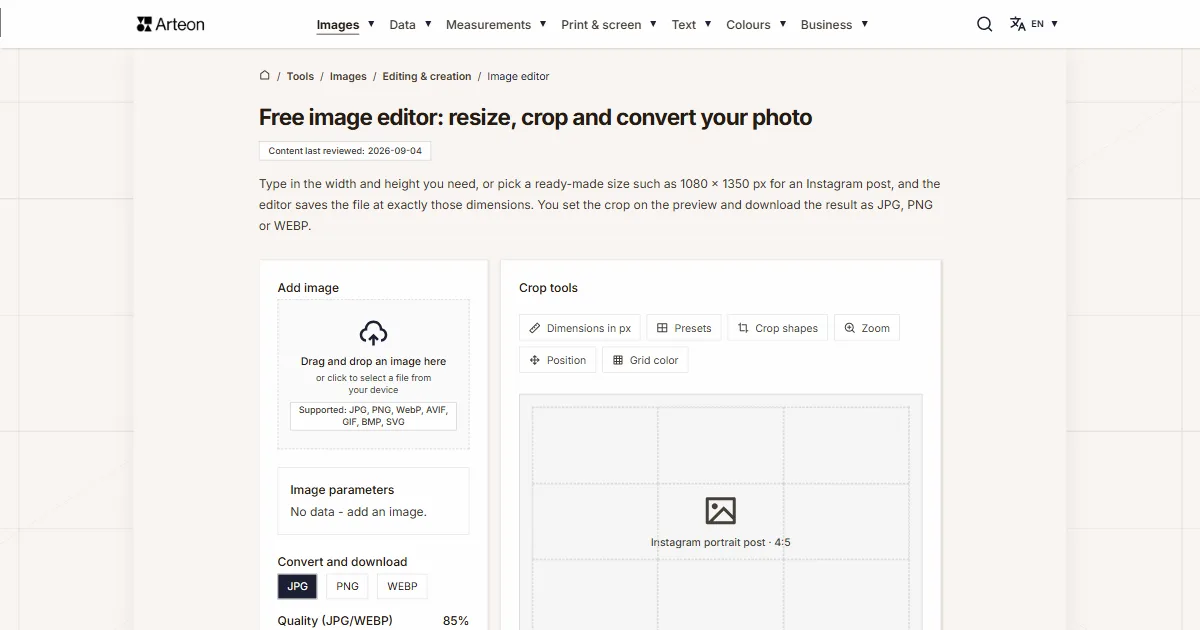
Type in the width and height you need, or pick a ready-made size such as 1080 × 1350 px for an Instagram post, and the editor saves the file at exactly those dimensions. You set the crop on the preview and download the result as JPG, PNG or WEBP.
Crop tools
Original: 3000 x 2000 px
Target: 1080 x 1350 px
Format: WebP
This tool works on a larger screen
To use this tool comfortably, open it on a laptop, desktop computer, or tablet in landscape mode.
Tip
If you are using a tablet, switch it to landscape mode - when the window width is large enough, the tool will load automatically.
What is a pixel and what is an aspect ratio?
English uses the words "image size" for two different things: how much the file weighs and how many pixels it holds. This page always means the second one, and the editor works the same way. A pixel is the smallest element of a digital image, a single point of one colour[1].
An image described as 1080 × 1350 px holds 1080 points across and 1350 down. Together that comes to 1,458,000 points, and those points are the whole picture.
The aspect ratio is the relationship between width and height, written as two numbers with a colon between them[2]. A 4:5 ratio means five units of height for every four units of width. The 1080 × 1350 px image sits at exactly that ratio, because 1080 divided by four and 1350 divided by five both come to 270.
The two measurements answer different questions and you need both. The ratio decides the shape of the frame, and the pixel dimensions decide how much detail fits inside that shape. A service that accepts 4:5 pictures will therefore take a 1080 × 1350 px file and a 2160 × 2700 px file alike, because the shape is the same in both.
A pixel only gains a physical size on a particular screen or on paper, once a density in DPI comes into play. If the picture is heading for print, work out the size in centimetres with the pixels to centimetres converter.
How do you resize an image?
The editor has two columns: on the left you add the file and choose the export format, on the right you set the crop.
1. Add an image
Drag a file onto the Add image field, or click it and pick a picture from your disk. The editor reads the dimensions straight away and shows them in the Image parameters card.2. Set the size and the crop
Type a width and a height in the Dimensions in px tab, or pick a ready-made size in the Presets tab. The bright rectangle on the preview marks the part that goes into the file.3. Choose a format and download
Click JPG, PNG or WEBP, set the quality slider and press Resize and download. The finished file lands in your downloads folder.
What size should an image be on Instagram, Facebook and LinkedIn?
| Where it is published | Dimensions | Aspect ratio |
|---|---|---|
| Ready-made sizes in the editor | ||
| Instagram – square post | 1080 × 1080 px | 1:1 |
| Instagram – portrait post | 1080 × 1350 px | 4:5 |
| Instagram – story and reels | 1080 × 1920 px | 9:16 |
| Facebook – post and shared link | 1200 × 630 px | 1.91:1 |
| Facebook – page cover | 820 × 312 px | 2.63:1 |
| LinkedIn – square post | 1200 × 1200 px | 1:1 |
| LinkedIn – profile banner | 1584 × 396 px | 4:1 |
| Sizes you type by hand | ||
| YouTube – video thumbnail | 3840 × 2160 px | 16:9 |
| Pinterest – standard pin | 1000 × 1500 px | 2:3 |
What size should graphics be on a website?
| Use | Dimensions | Aspect ratio |
|---|---|---|
| Link preview on social media (OG image) | 1200 × 630 px | 1.91:1 |
| Article graphic | 1600 × 900 px | 16:9 |
| Page banner | 1920 × 600 px | 3.2:1 |
| Article thumbnail | 800 × 600 px | 4:3 |
| Section hero | 1920 × 1080 px | 16:9 |
| Section background | 1920 × 1280 px | 3:2 |
JPG, PNG or WEBP – which format should you choose?
| Format and quality | File size | Transparent background | Quality slider |
|---|---|---|---|
| JPG, quality 60% | 128 KB | no | yes |
| JPG, quality 70% | 154 KB | no | yes |
| JPG, quality 85% | 227 KB | no | yes |
| JPG, quality 100% | 1.08 MB | no | yes |
| WEBP, quality 85% | 158 KB | yes | yes |
| PNG | 2.52 MB | yes | no |
Set the target dimensions
In the Dimensions in px tab you type the width and the height yourself. With Keep aspect ratio ticked, one number is enough: the editor works out the other one so that the frame keeps the shape of the original.
Clearing that tickbox frees both fields. You then set width and height independently and the crop follows the shape you gave it. That is how you turn a landscape photo into a 1920 × 600 px page banner.
How do you crop an image?
Once the target dimensions are in place, a bright rectangle appears on the preview. Exactly that part of the picture goes into the downloaded file, and the rest of the image is dimmed. There are four ways to move it.
Dragging the crop. Grab the bright area with the mouse and move it anywhere on the picture. The editor switches itself to the Position tab as you do, so you can see where on the photo the crop currently sits.
The corner handles. Four small squares sit in the corners of the bright area. Dragging any of them changes how much of the original the crop covers, while the shape of the frame stays put, because it follows the dimensions you typed.
The Zoom tab. The Crop zoom field takes values from 100 to 300%. The higher the number, the smaller the slice of the original the crop covers, so this is the field to reach for when you want to pull one particular detail out of a photo.
The Position tab. Two fields describe where the crop sits, as a percentage: Horizontal (X) runs from the left edge to the right, and Vertical (Y) from top to bottom. Three buttons next to them centre the crop horizontally, vertically, or on both axes at once.
However you move the crop, the downloaded file always carries exactly the dimensions shown in the Target row. Zoom and position decide which part of the picture goes into the file, and the size of the result stays as you typed it in the Width and Height fields.
Crop shapes
The Crop shapes tab offers three options. Rectangle keeps the crop at whichever of the five ratios you pick below it: 1:1, 4:5, 3:2, 16:9 and 9:16. Square levels both dimensions down to the shorter side of the picture. Circle does the same and cuts a disc out of the frame on top of that.
Once you pick the circle, the editor moves the export from JPG to PNG, because the transparent background outside the disc is something PNG and WEBP can store. In a measurement on a 4000 × 3000 px photo this produced a 3000 × 3000 px file whose corner points are fully transparent while the middle of the disc is opaque.
That is how you prepare a round avatar for a profile or for an email signature. If what you need is a site icon in ICO format, the favicon generator builds it, because a site icon needs several sizes inside one file.
What is the grid on the crop preview for?
The bright crop area is divided by lines into nine equal parts. This is the rule of thirds, one of the basic ideas in photographic composition: the most important element of the picture, whether a face, a product or the horizon, lands on one of the lines or where two of them meet.
The grid earns its place on frames that a platform trims after you publish them. Knowing that a phone shows a Facebook page cover in a narrower slice, you place the logo on the middle square of the grid and it stays inside the frame on every screen.
The Grid color tab offers five line colours: green, white, black, red and yellow. You change the colour so the lines stay readable on the particular photo in front of you — white works on dark frames, black on bright ones.
What happens to your photo once you add it to the editor?
The photo stays on your device. Cropping, scaling and saving to a new format are all done by the browser itself, through the built-in canvas element that draws the slice of the image at the target dimensions and turns it into a file[9]. Closing the tab ends the whole operation, because the browser releases the memory holding the image.
Something useful happens along the way. Photos from phones and cameras carry EXIF metadata: the date, the camera model, the exposure settings and sometimes the GPS coordinates of the place where the shot was taken. The browser draws only the points of the image onto the canvas, so the file you download holds the picture and nothing else. We checked this on a photo with EXIF deliberately written into it, and the marker was gone from the downloaded file.
Rotation carries over correctly. Browsers read the orientation flag out of the EXIF data before they display anything[10], and the editor works on what you see in the preview. A photo taken upright on a phone therefore stays upright.
The editor reads JPG, PNG, WebP, AVIF, GIF, BMP and SVG files, which is everything a browser can draw on its own. Photos from an iPhone saved as HEIC open once you put them through the HEIC to PNG converter, and scans stored as TIFF through the TIFF to PNG converter.
Sources
- Pixel — Wikipedia
- Aspect ratio (image) — Wikipedia
- Image resolution of photos you share on Instagram — Instagram Help Center
- Facebook Page profile picture and cover photo dimensions — Facebook Help Center
- Add or change the background photo on your profile — LinkedIn Help
- Add video thumbnails — YouTube Help
- Pinterest product specs — Pinterest Business Help
- Sharing – Best Practices for Images — Meta for Developers
- HTMLCanvasElement: toBlob() method — MDN Web Docs
- image-orientation — MDN Web Docs
Every figure in the tables was computed from the unit definitions and checked arithmetically before publication. Historical values and the names of local units come from the sources listed above.
Content last reviewed: · written and checked by the Arteon team
Frequently asked questions about the image editor
How do you make a round profile picture?
Add the photo, go to the Crop shapes tab and click Circle. The editor levels both dimensions to the shorter side of the picture and moves the export to PNG. Put the crop on the face by dragging the bright area on the preview, then click Resize and download to get a disc on a transparent background.
Which files does the editor read?
JPG, PNG, WebP, AVIF, GIF, BMP and SVG. These are the formats a browser draws on its own, without any extra library. iPhone photos in HEIC go through the HEIC to PNG converter first, and TIFF scans through the TIFF to PNG converter.
Which export format is best for a photo on a website?
WEBP at 70–85% quality. In our measurement on a 1080 × 1350 px crop, the WEBP file at 85% quality weighed 158 KB. The same crop saved as JPG at the same setting weighed 227 KB, which makes the WEBP 31% lighter. Keep PNG for graphics with hard edges and for files that need a transparent background.
How does the quality slider work?
The Quality (JPG/WEBP) slider runs from 60 to 100% and controls how hard the file is compressed. The same crop saved as JPG came to 128 KB at 60%. Moving the slider up to 85% produced a 227 KB file. Setting it to 100% took 1.08 MB, more than eight times the size at 60%. For social media and for websites, 70–85% covers it. With PNG the slider leaves the form, because that format stores the image without loss and has no compression level to set.
Does the editor remove EXIF data from a photo?
Yes. The browser draws only the points of the image onto the canvas, so the source metadata — the date, the camera model and the GPS coordinates — does not reach the downloaded file. We checked this on a photo with EXIF deliberately written into it and the marker was gone from the output. Orientation behaves differently: the browser reads it before drawing, so the photo is saved the right way up.
Will the editor handle a large photo?
Yes. In our test an 8000 × 6000 px photo loaded and saved without trouble. The upper limit belongs to the browser, which caps how large a bitmap it will draw. A 17,000 × 12,750 px crop still produced a finished file, while at 20,000 × 15,000 px the browser refused to save. At that boundary the editor shows a message asking you to reduce the width or the height.
Can you enlarge a small photo?
The editor saves a file at any dimensions you type, including ones larger than the original. The amount of detail still comes from the source file, so an enlarged picture looks softer than a photo shot at that resolution in the first place. For Instagram this rarely matters: the service keeps widths up to 1080 px without rescaling them, so an original of that width is plenty.
What do ratios like 4:5 or 16:9 mean?
They are the relationship between width and height. A 4:5 ratio means five units of height for every four units of width, which gives an upright frame — that is the 1080 × 1350 px Instagram post. A 16:9 ratio describes the wide frame familiar from film and slide decks, at 1920 × 1080 px. Turning it around into 9:16 gives the upright, full-screen phone frame used by stories and reels.
Which export format should you use for a circular crop?
PNG or WEBP. Both have an alpha channel, which leaves the corners outside the disc empty so the avatar reads as round wherever you place it. The editor suggests this itself: picking the circle moves the export to PNG.
Help us improve our tools
Do you have an idea for a new feature, have you found a bug, or would you like to suggest another tool that would make your work easier? Write to us – we reply within 24 hours.
Explore other useful tools
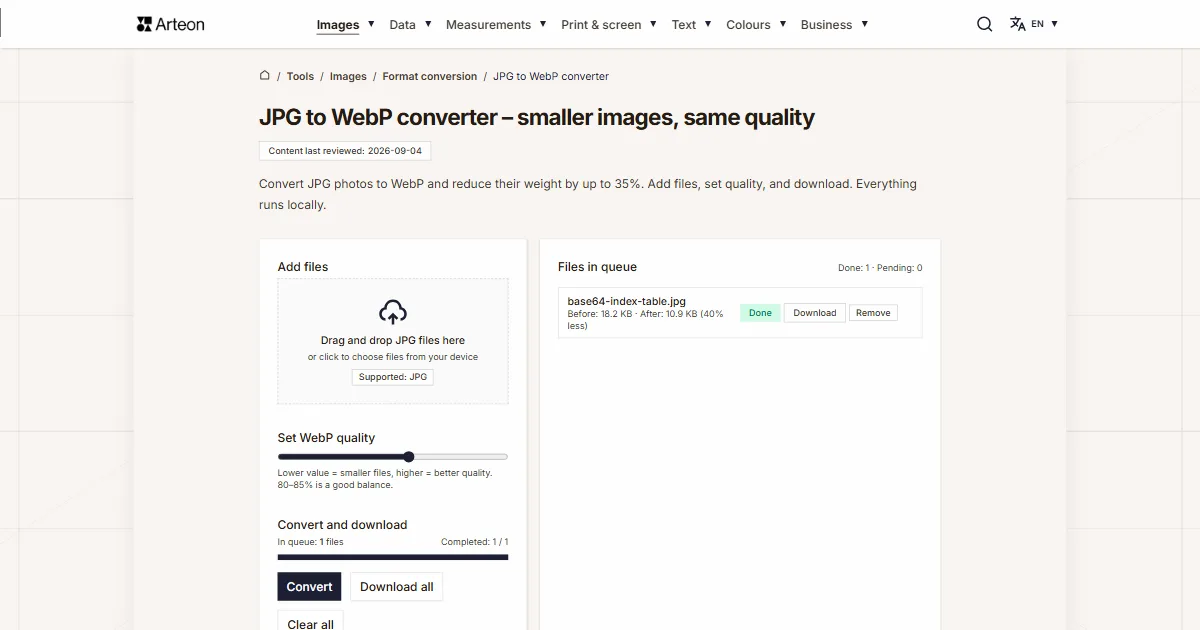
Online image editor
Resize, crop and convert your image. Ready-made formats for social media, circular avatars, export to JPG/PNG/WebP.

Meta title & description checker
Check title and description length in pixels. Live Google preview and optimization tips.
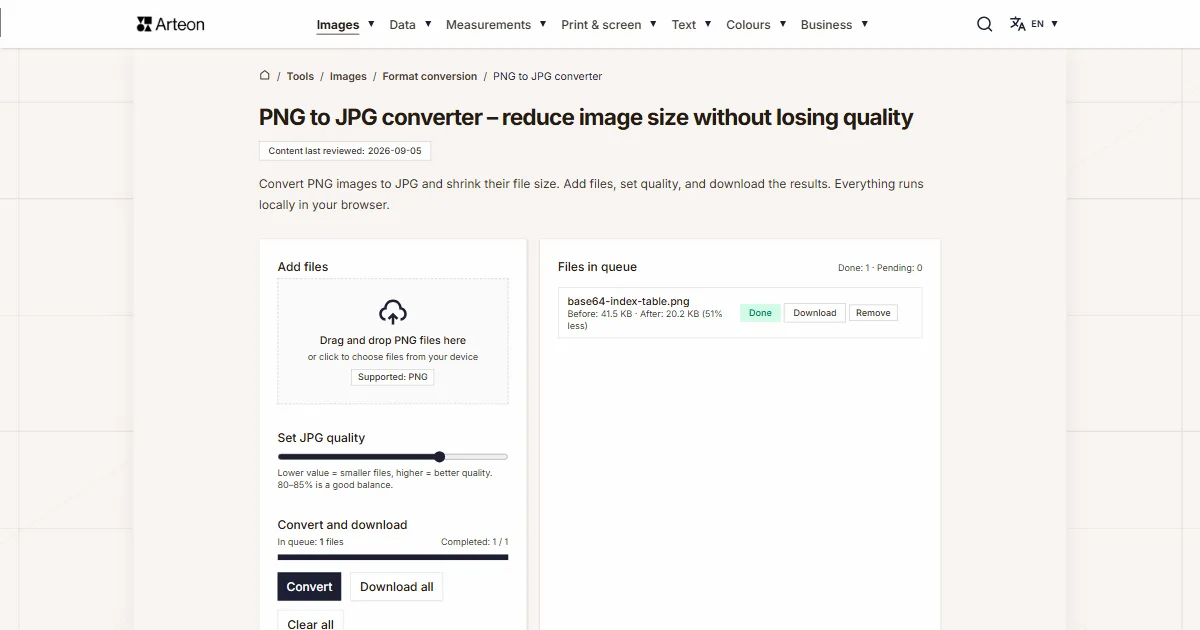
PNG to JPG
Convert PNG files to JPG in your browser. No file limits, no signup, no server uploads.

Favicon generator
Create a complete favicon.ico set for your website from one image. All required sizes, no login.
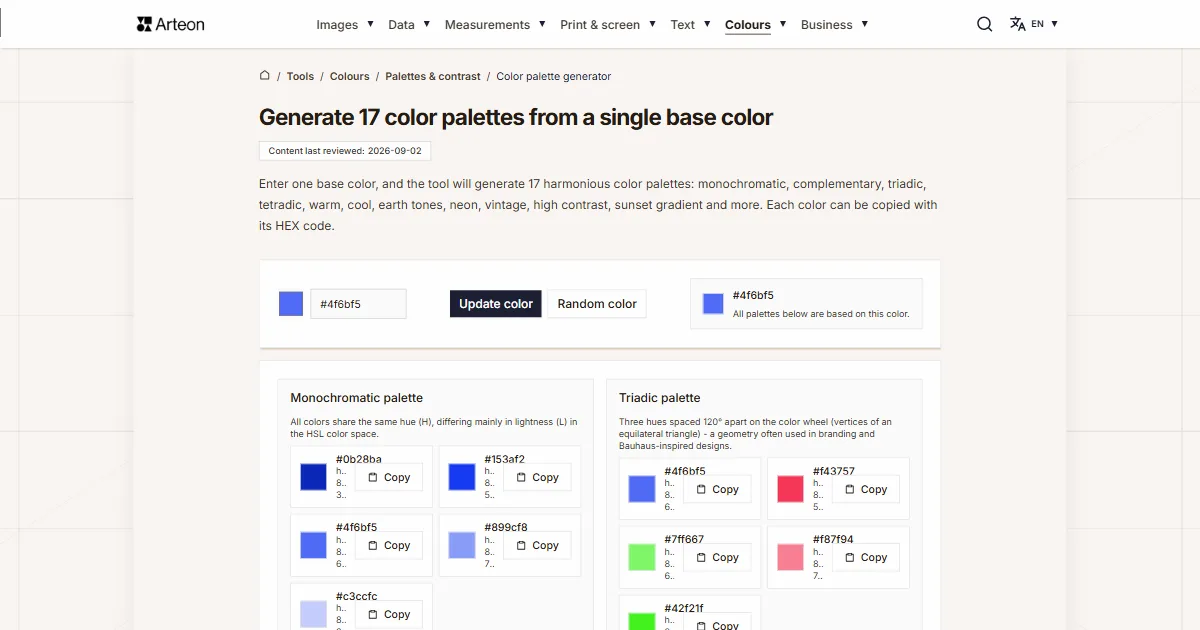
Color palette generator
Generate 9 palettes from one color: monochromatic, complementary, triadic and more. HEX codes.
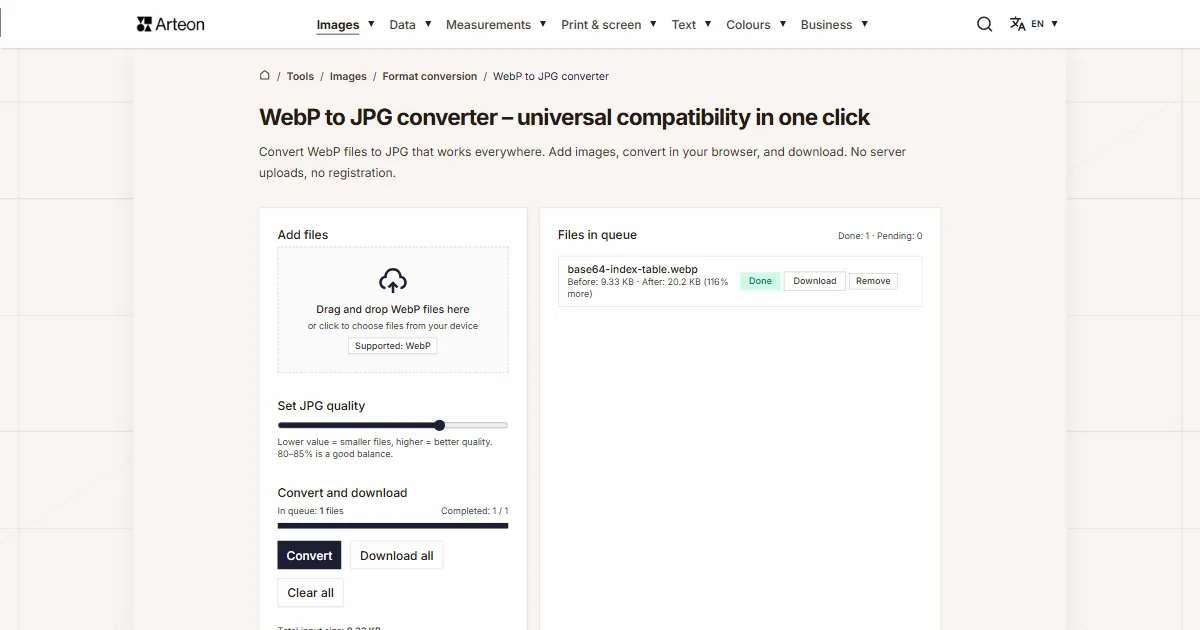
WebP to JPG
Convert WebP files to universally compatible JPG. Works in every app and platform.
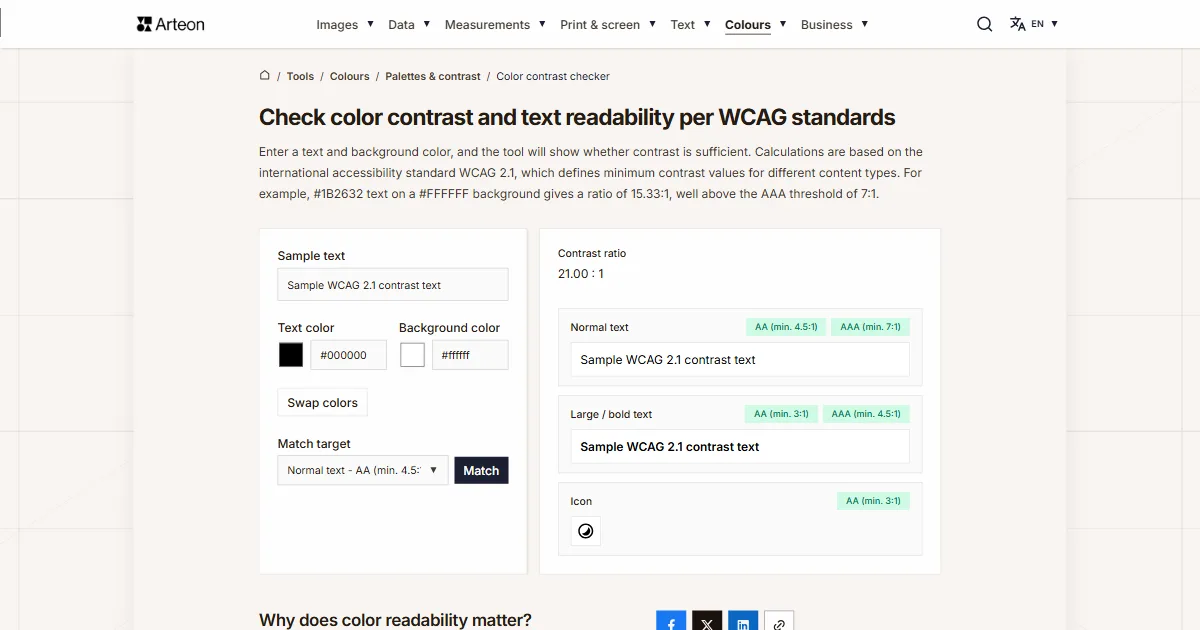
Color contrast checker
Check text and background contrast per WCAG 2.1 AA and AAA. Automatic color correction.
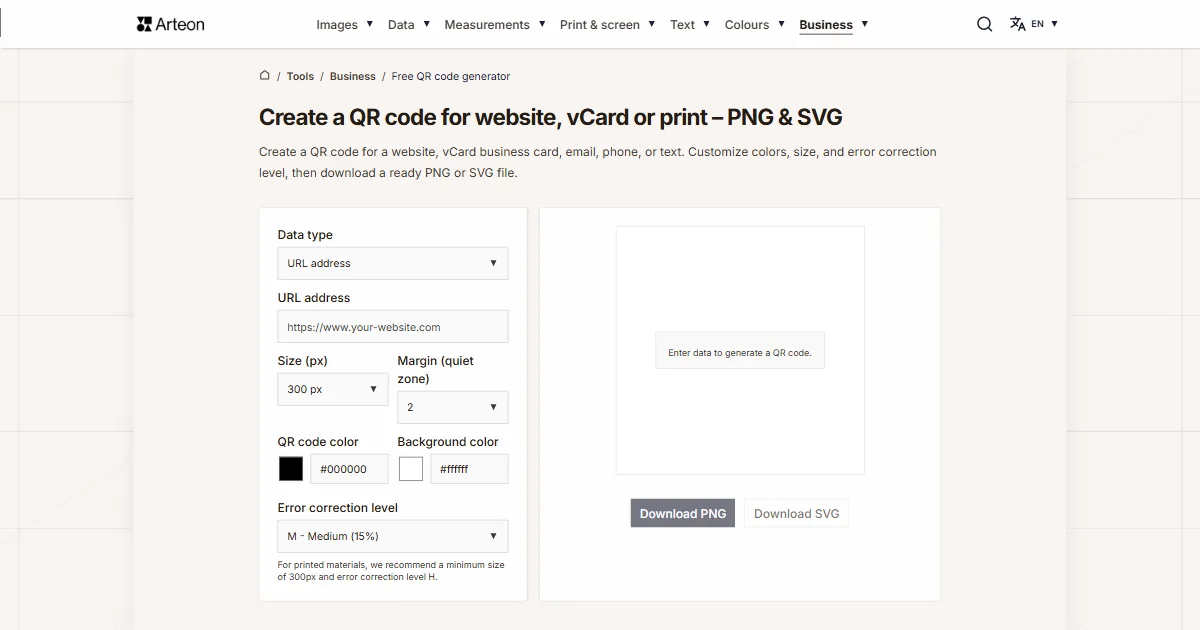
Free QR code generator
Create a QR code for a website, vCard business card or print. Export PNG and SVG, no registration.
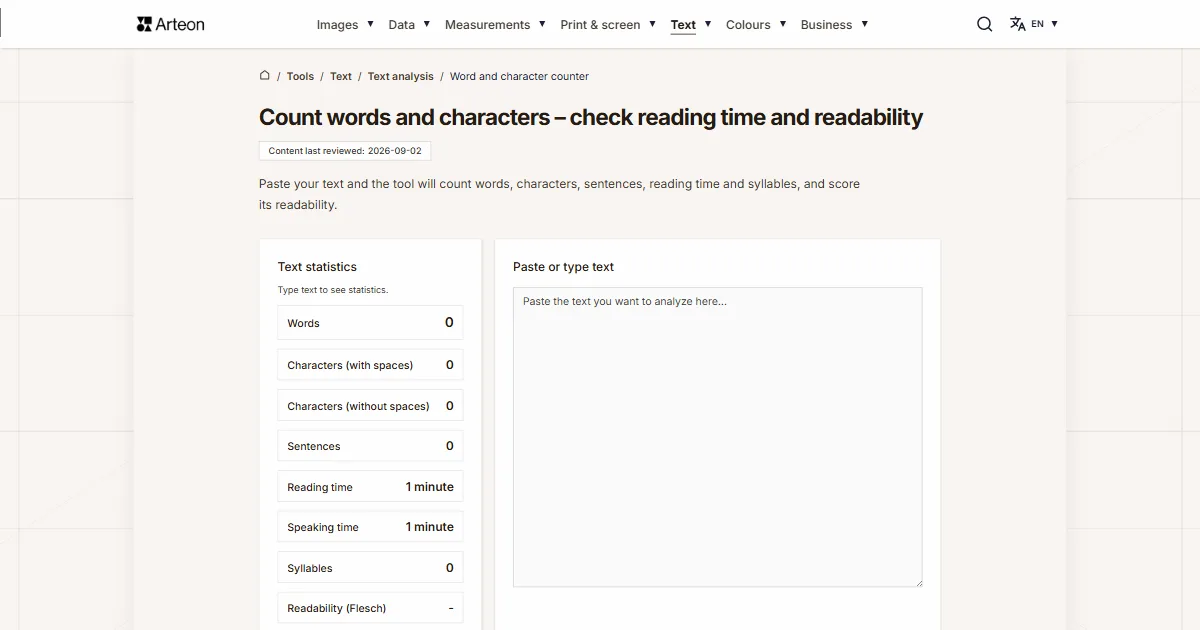
Word & character counter
Count words, characters, sentences and reading time. Check readability with the Flesch-Kincaid score.